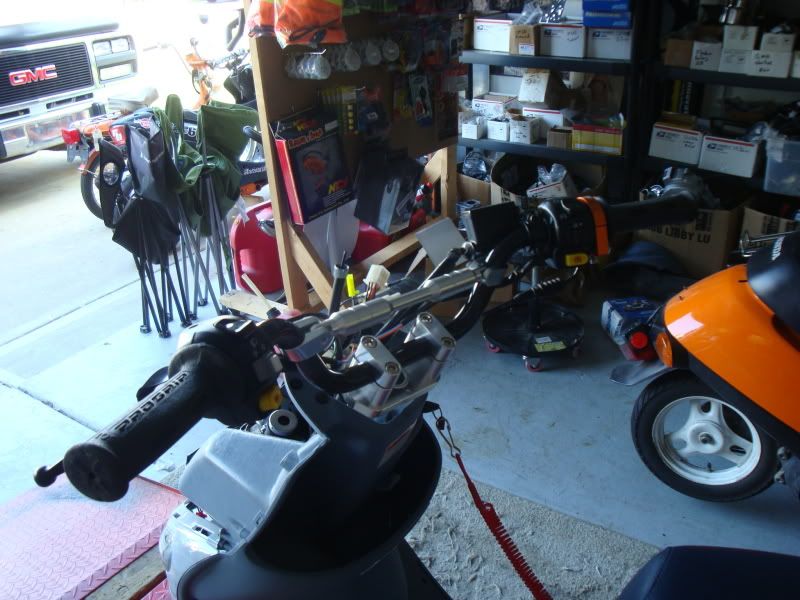
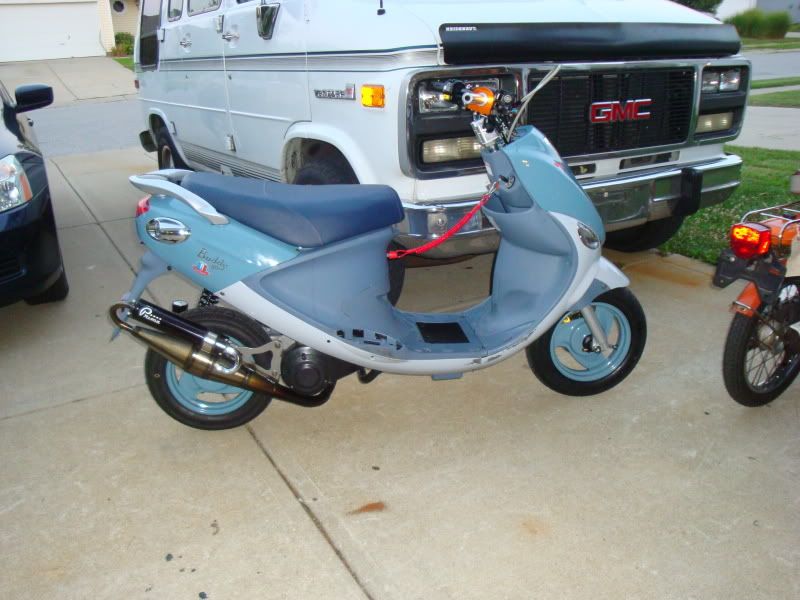
Been awhile since I lasted posted a update, been super swamped here in the shop. However we have a lot of ground to cover so lets dive right in.
How to install a Prima 72cc Iron Big Bore Kit in your Buddy 50 2t.
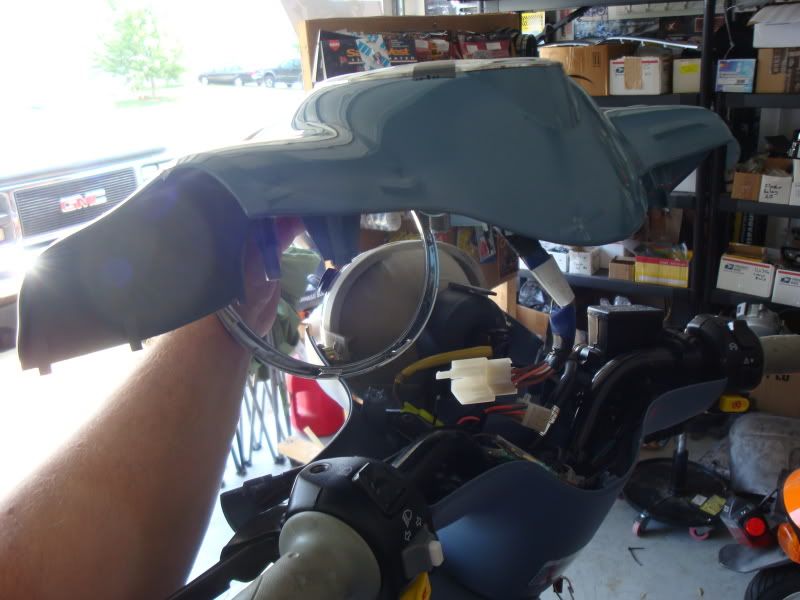
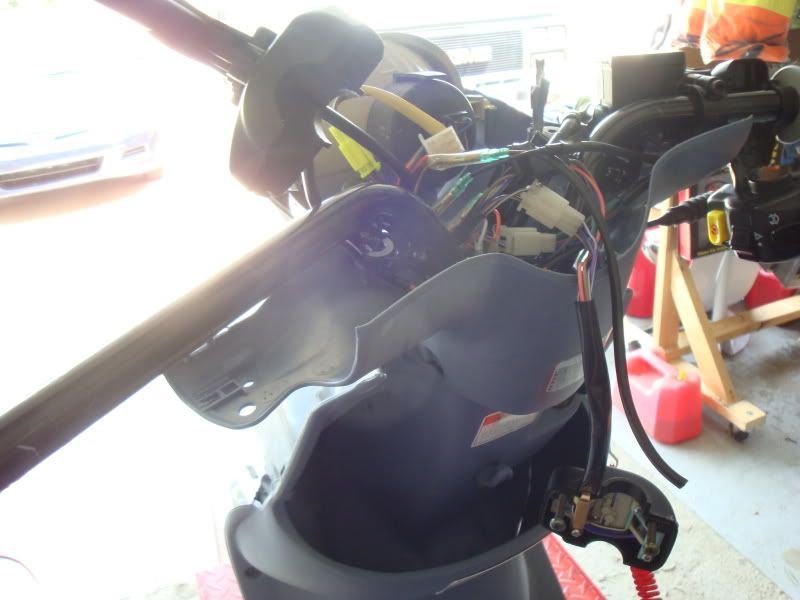
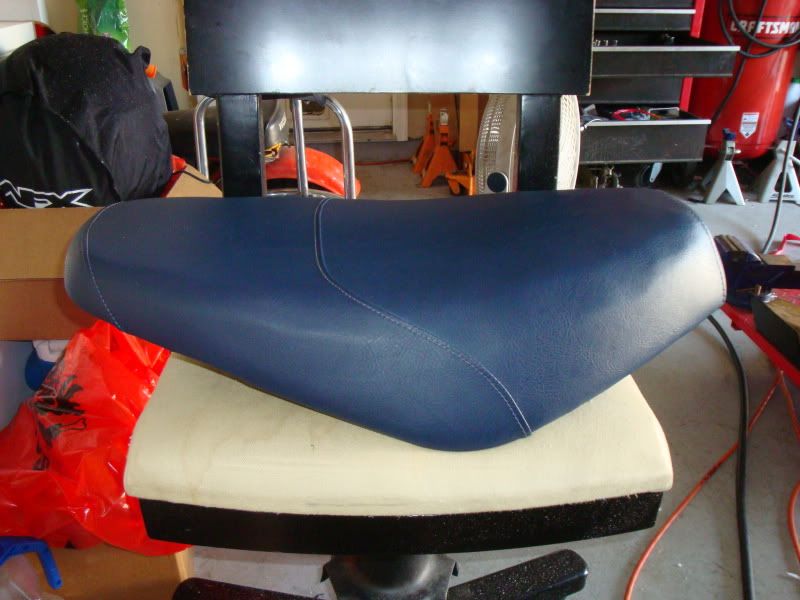
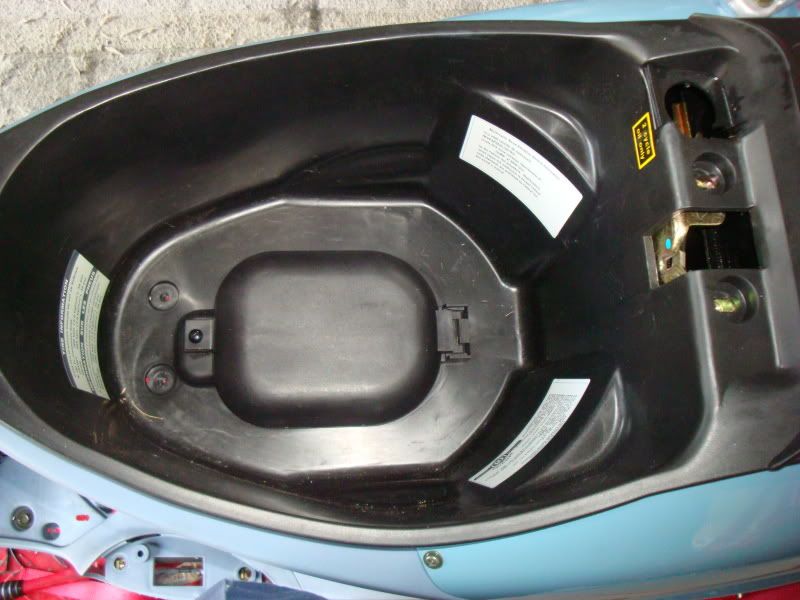
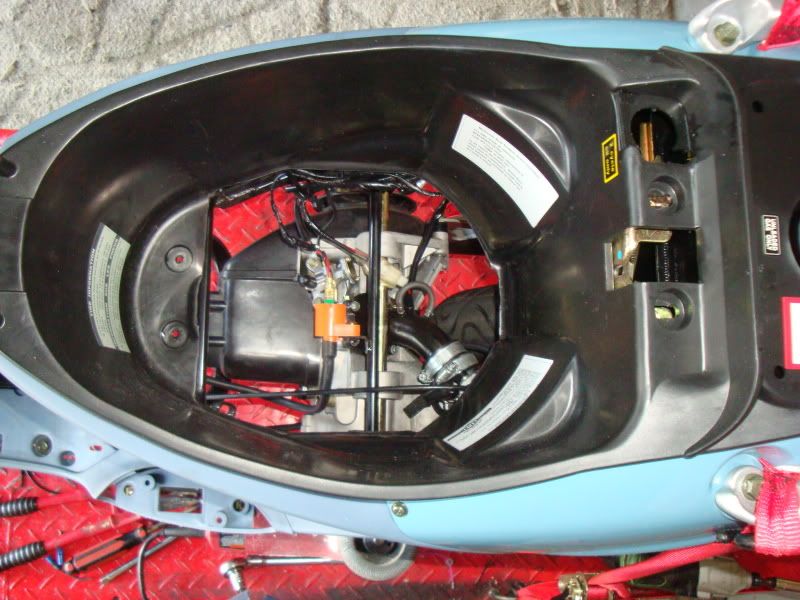
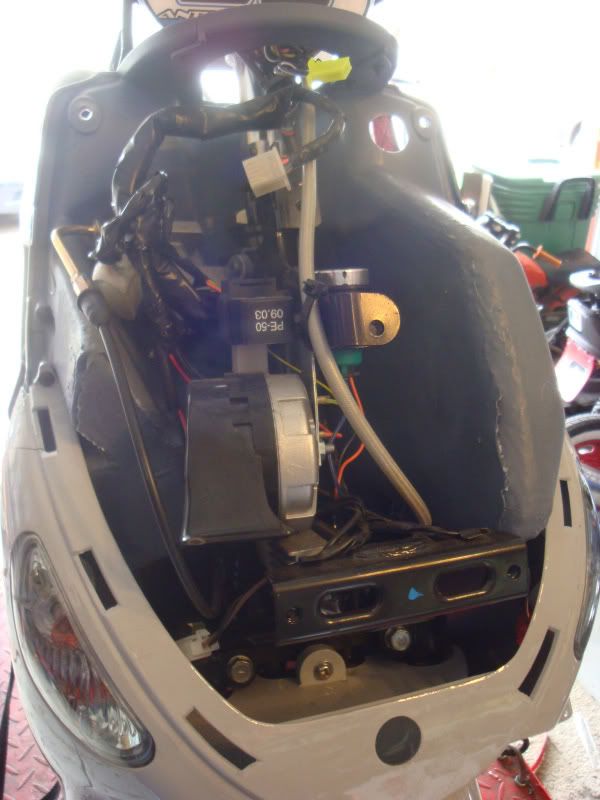
Remove seat bucket.
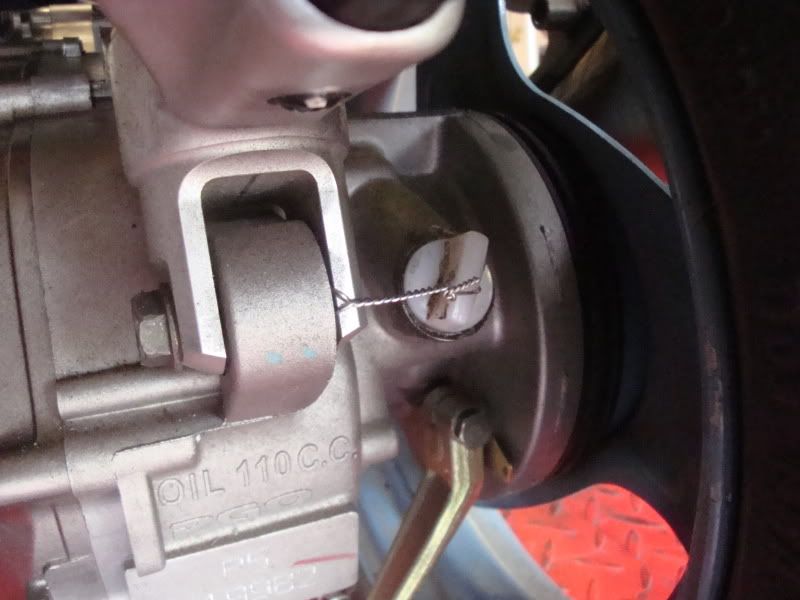
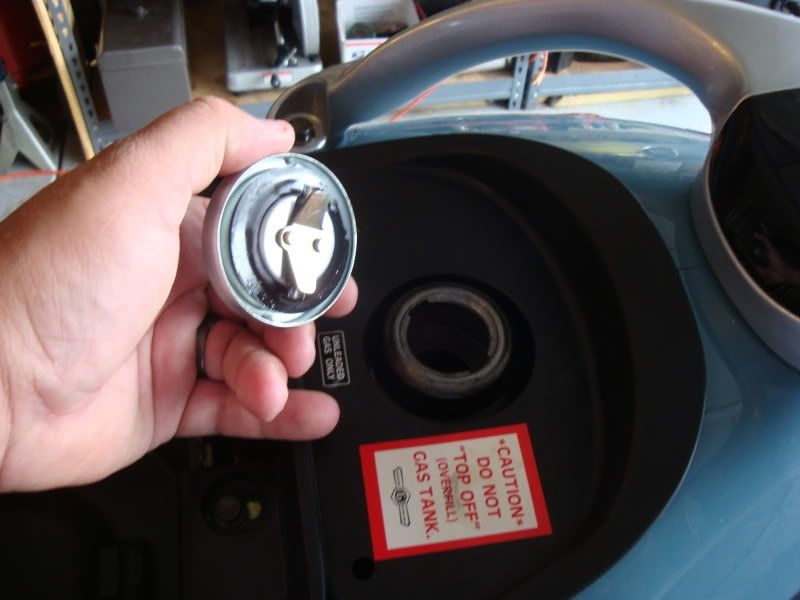
Remove gas cap.
Remove 4 10mm bolts and bucket slides out.
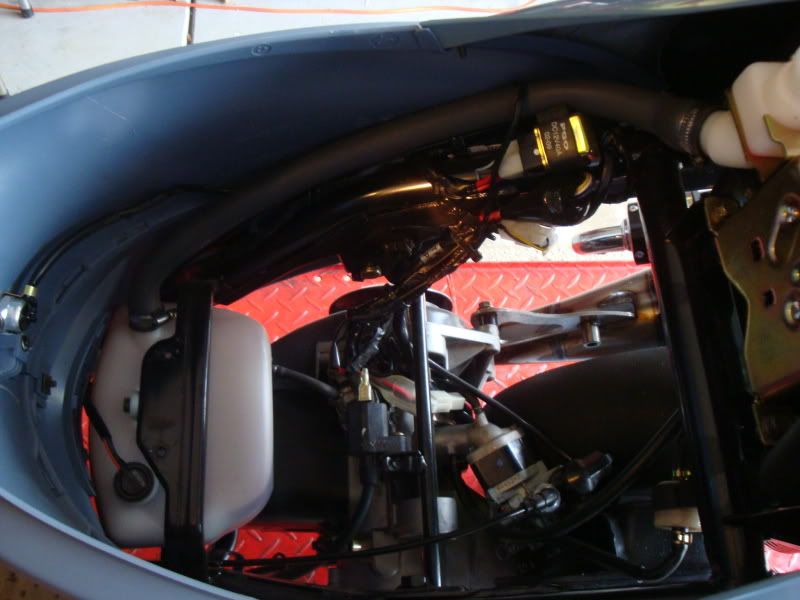
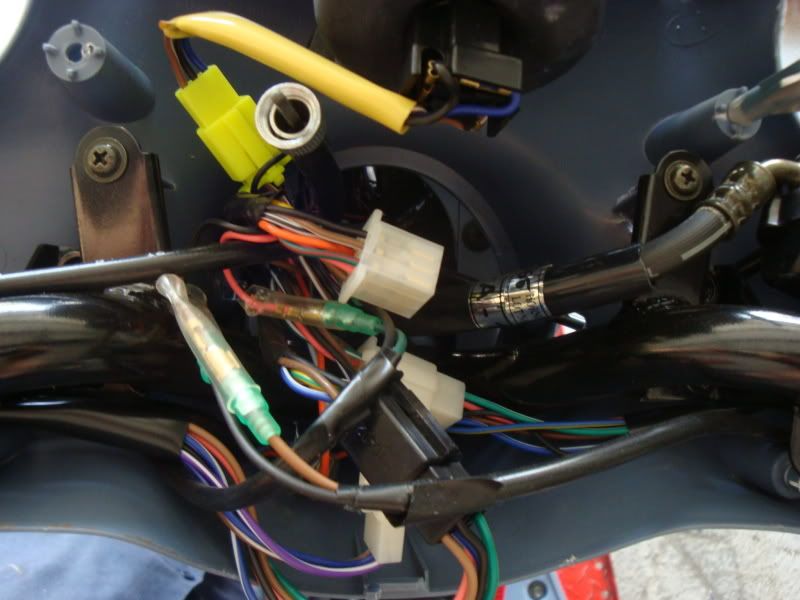
Disconnect the starter wiring.
Disconnect the stator wiring.
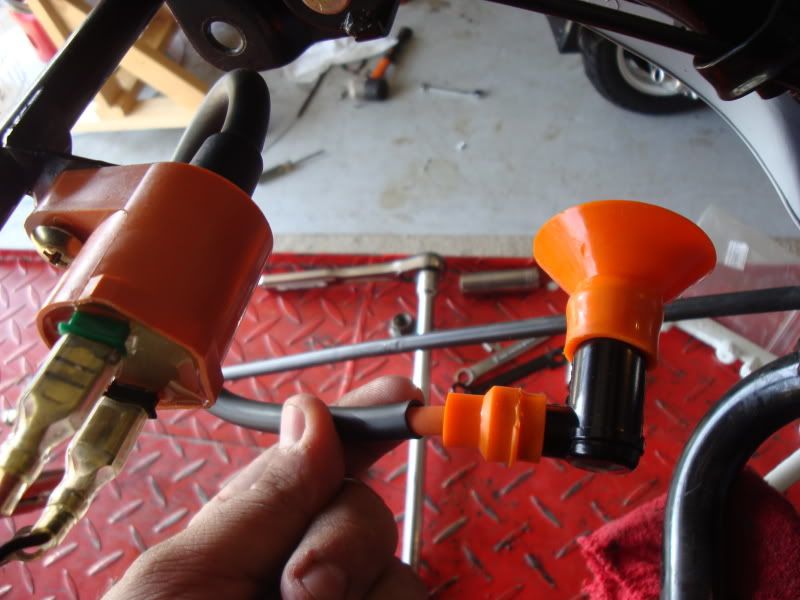
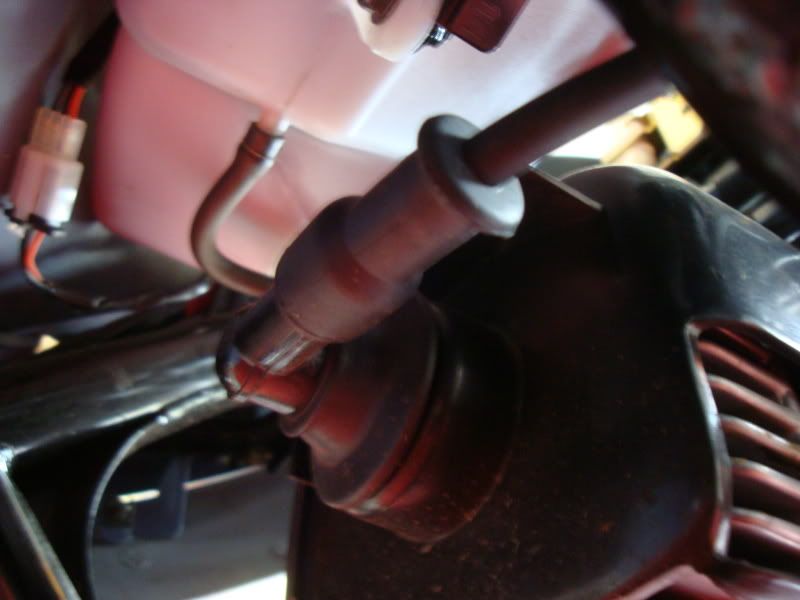
Remove the coil from the plug.
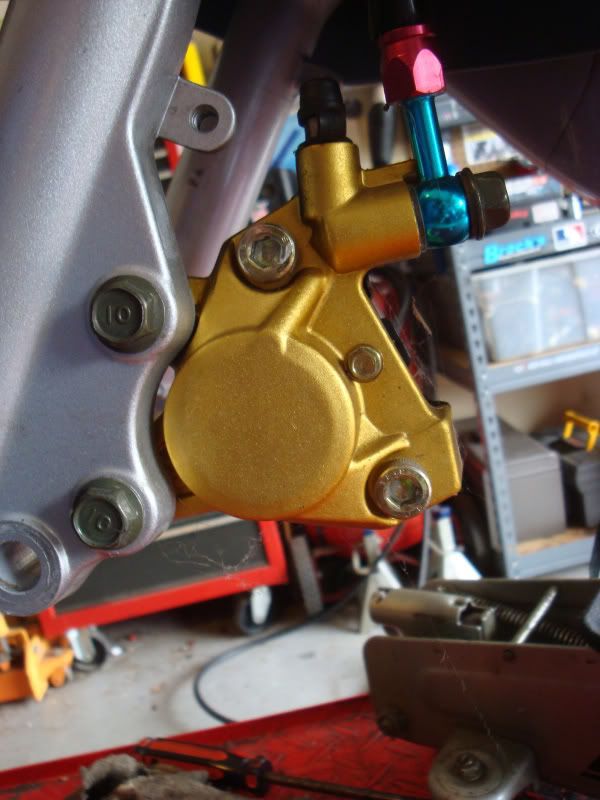
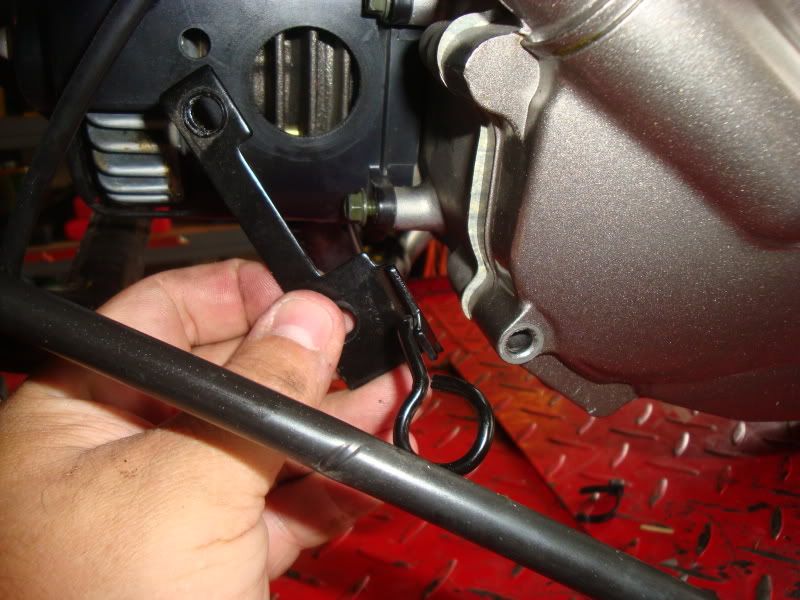
Remove rear brake cable.
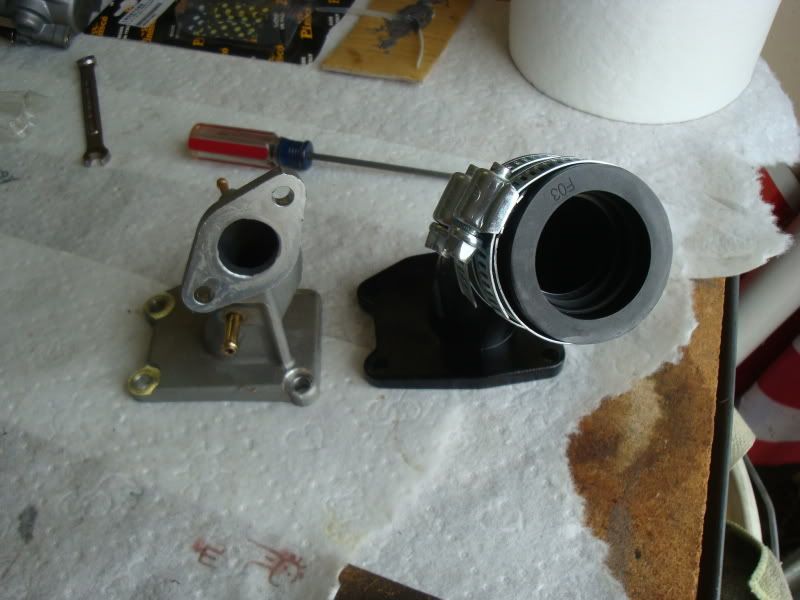
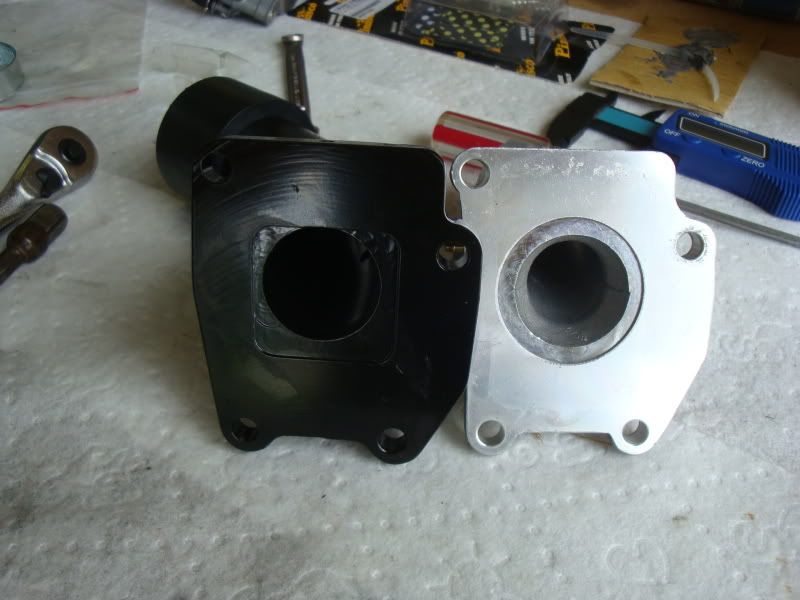
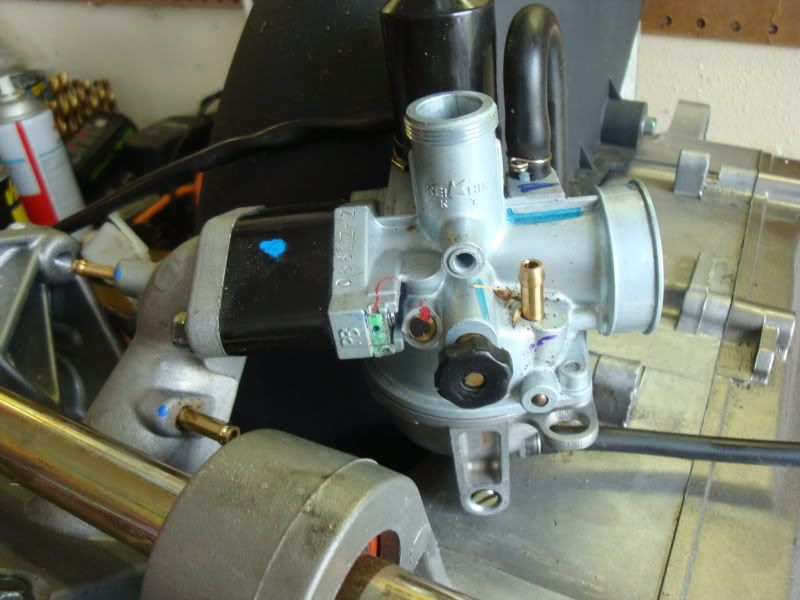
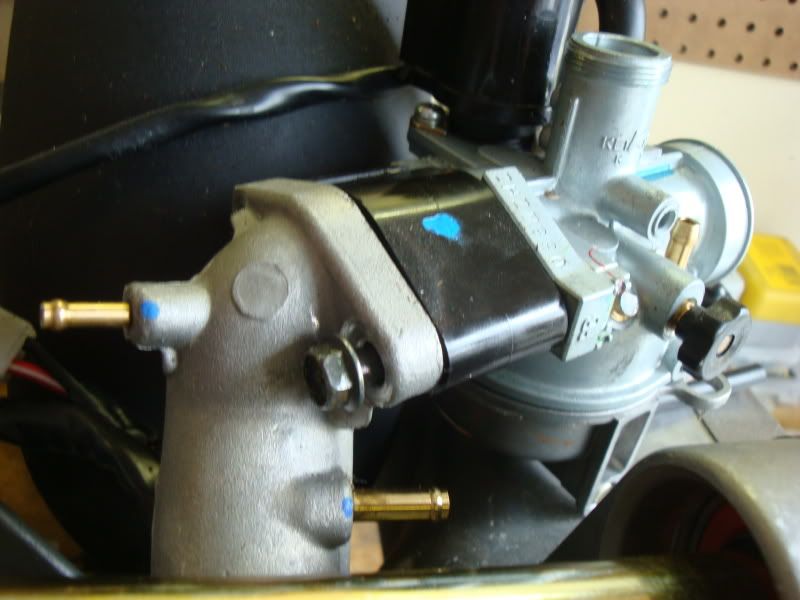
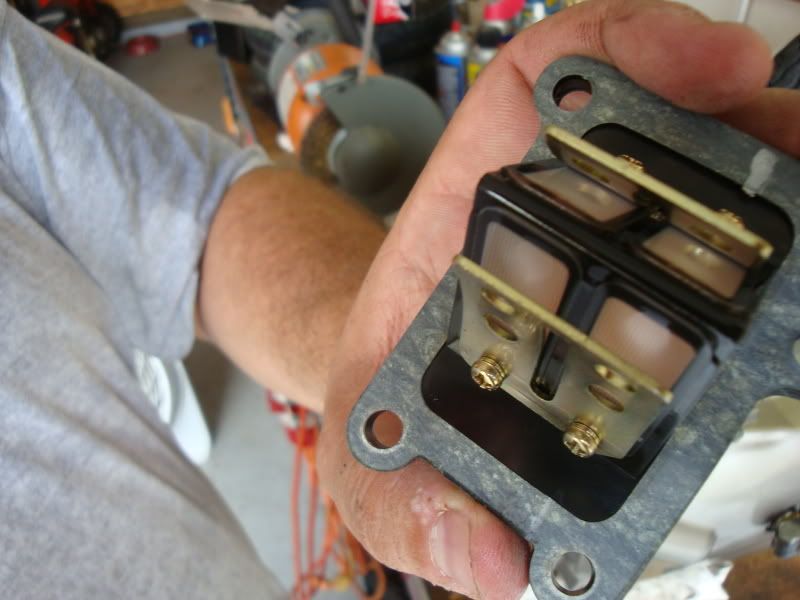
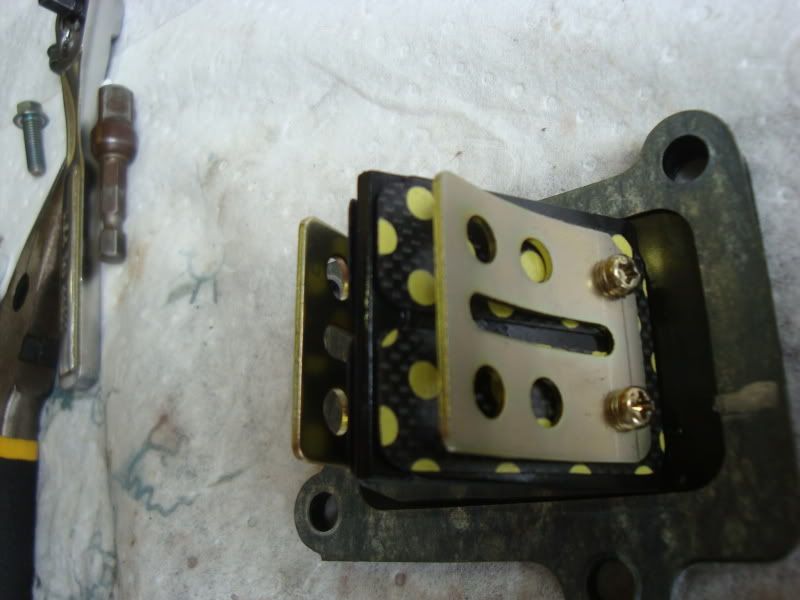
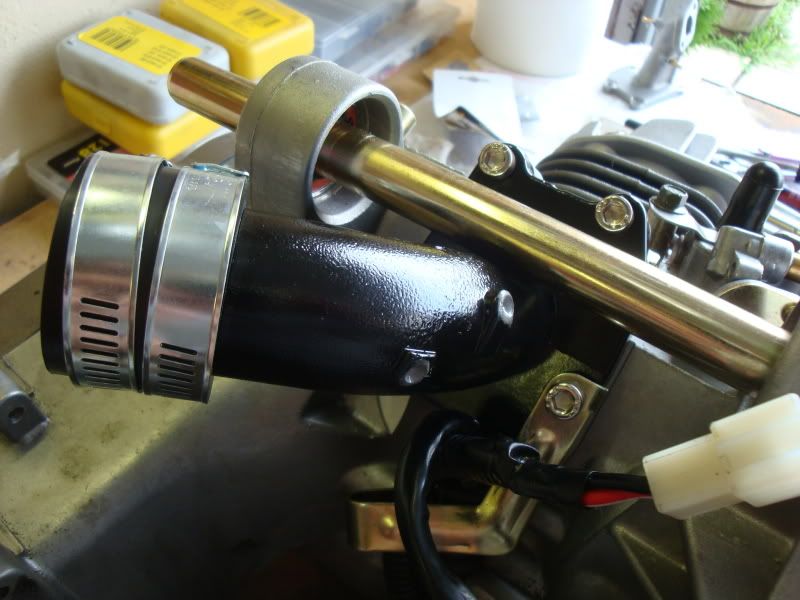
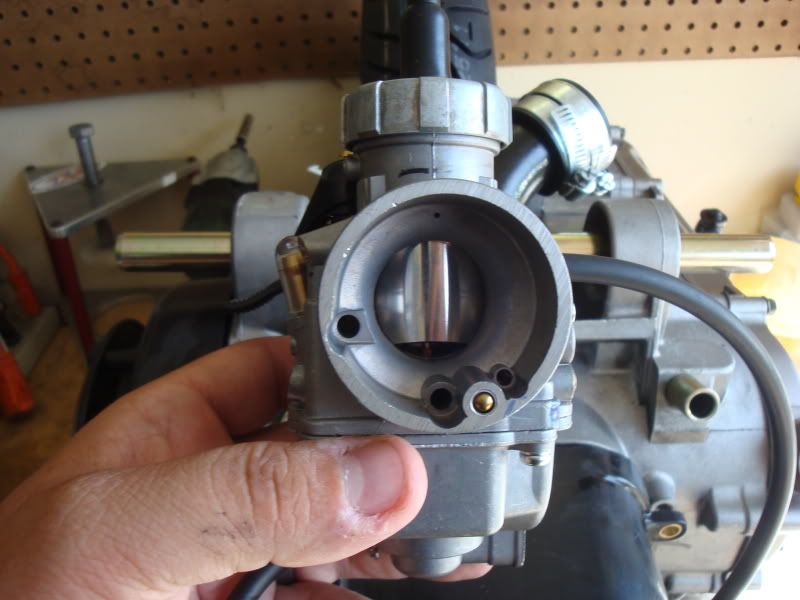
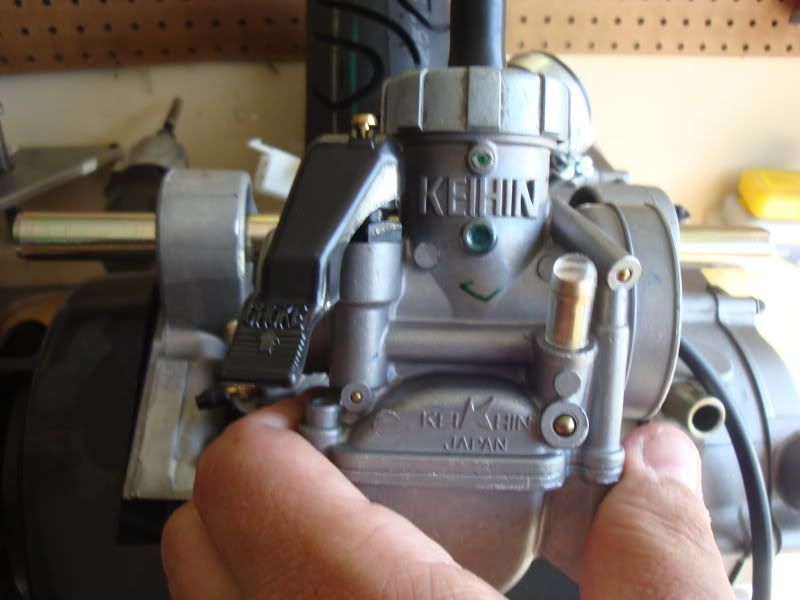
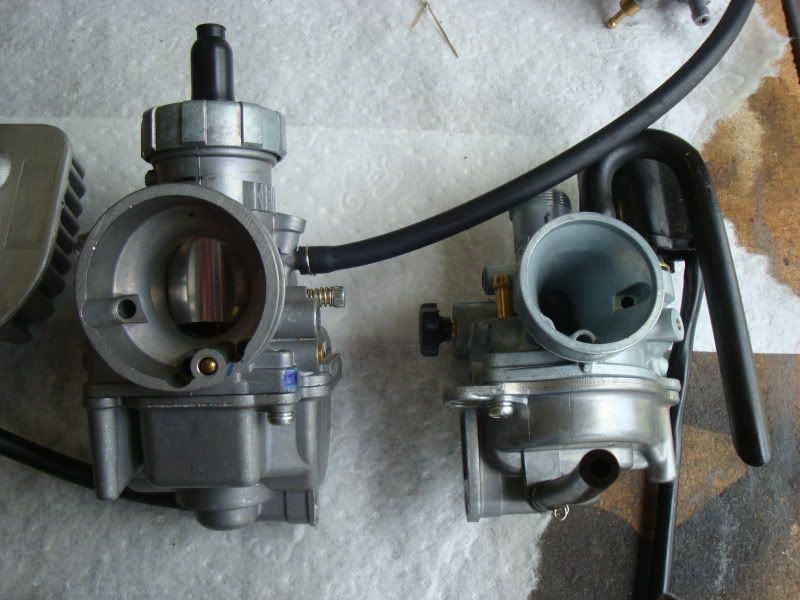
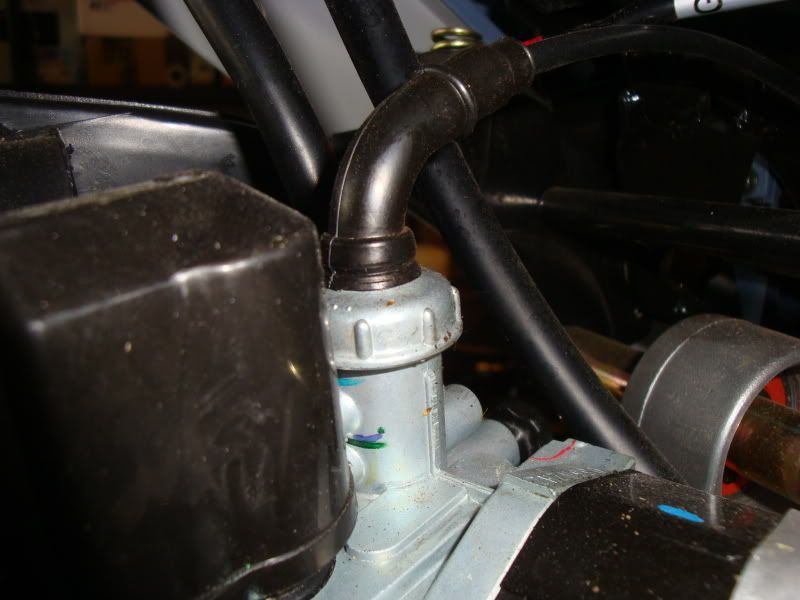
Remove the fuel line from the carb along with the top of the carburetor so you can remove the engine without having to undo the throttle cable.
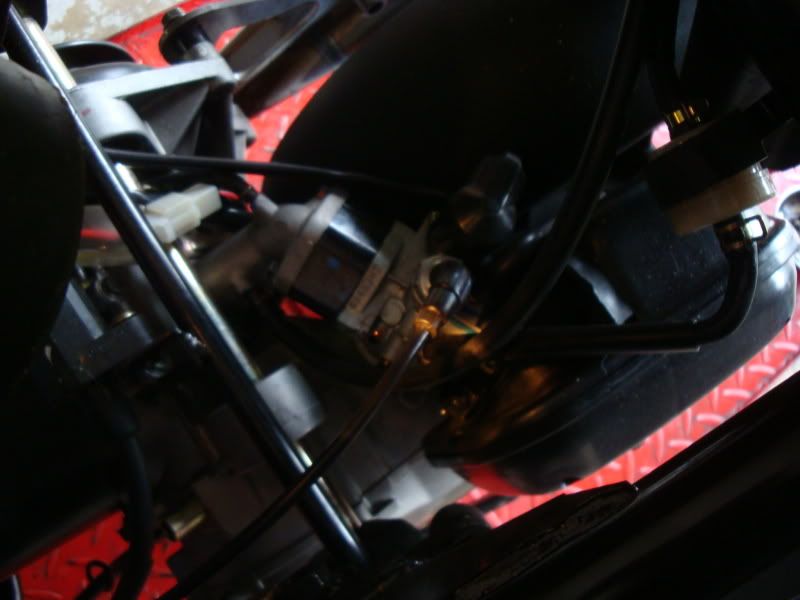

Remove cable guide from engine.
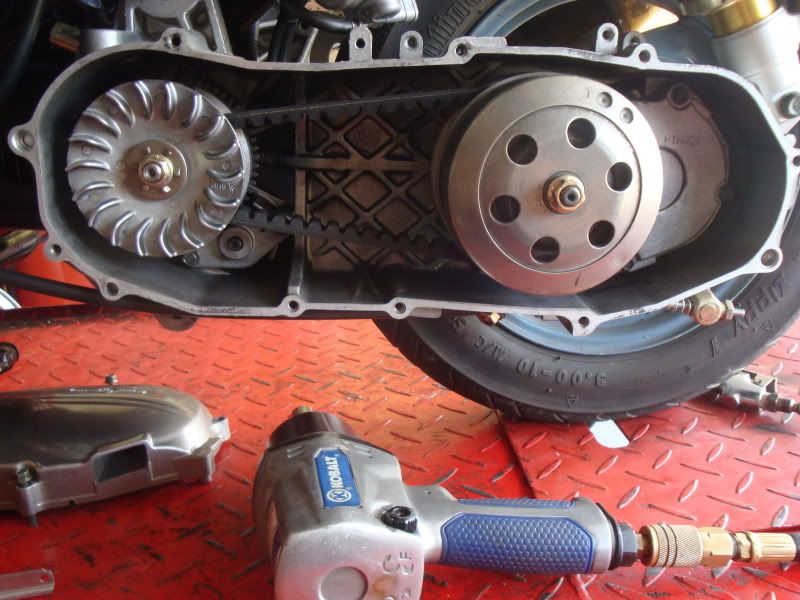
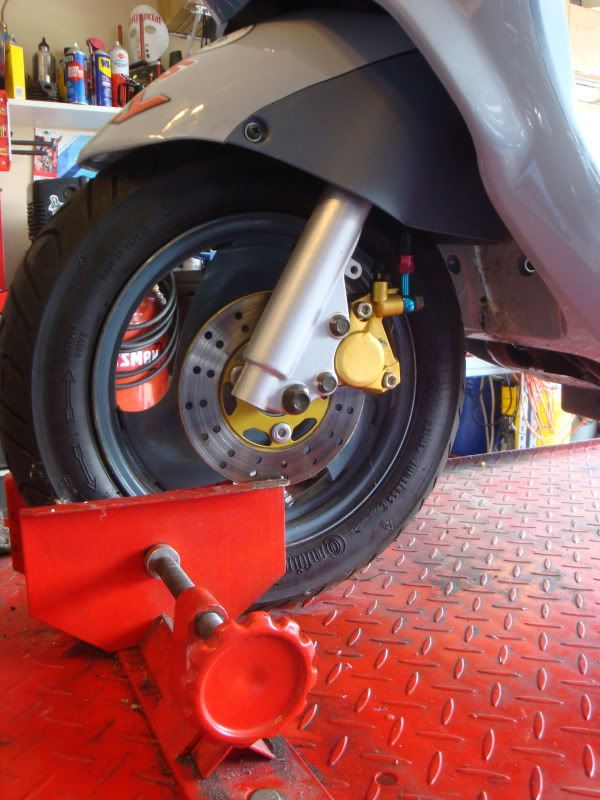
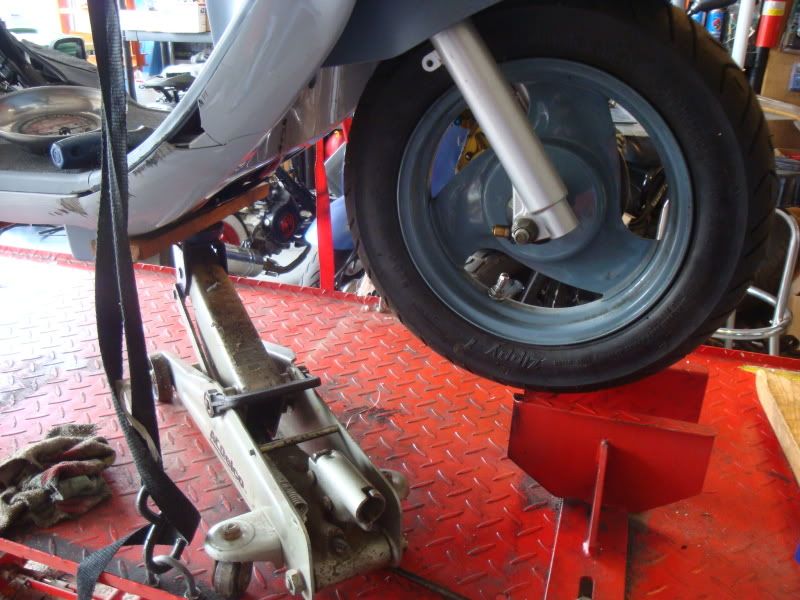
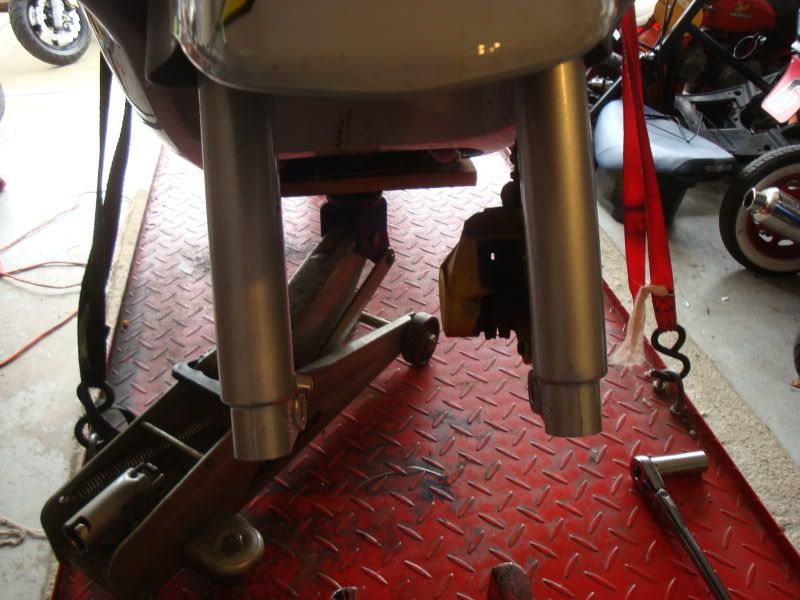
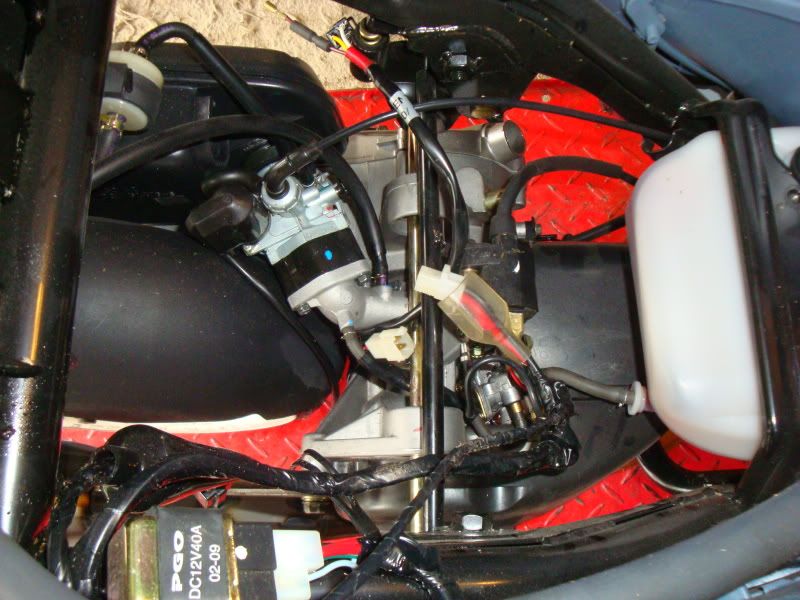
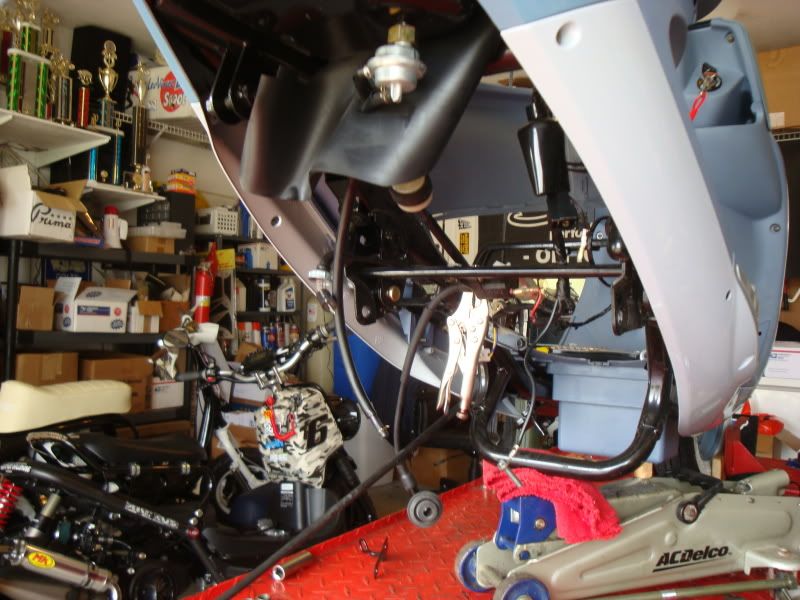
At this point I put a jack under the scooter and strap the scooter to the lift. This way I can lift the front end and remove the motor without having to play twister.
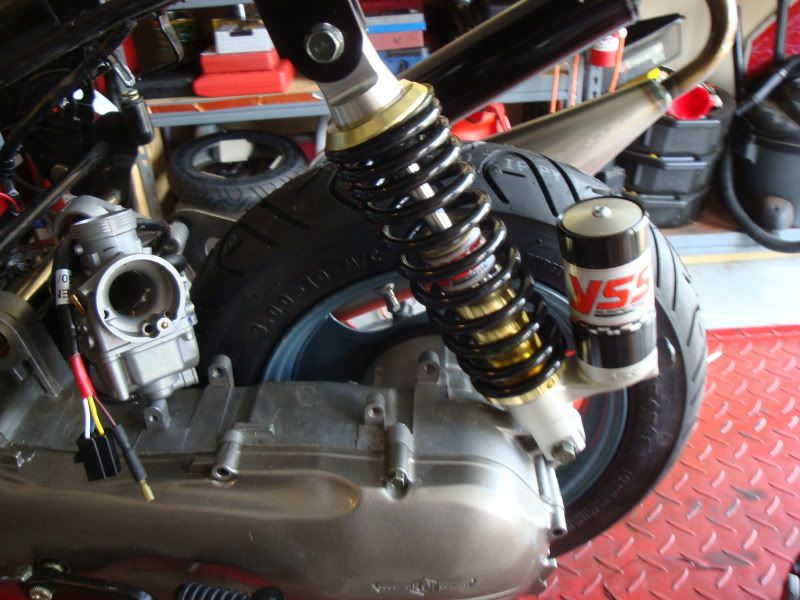
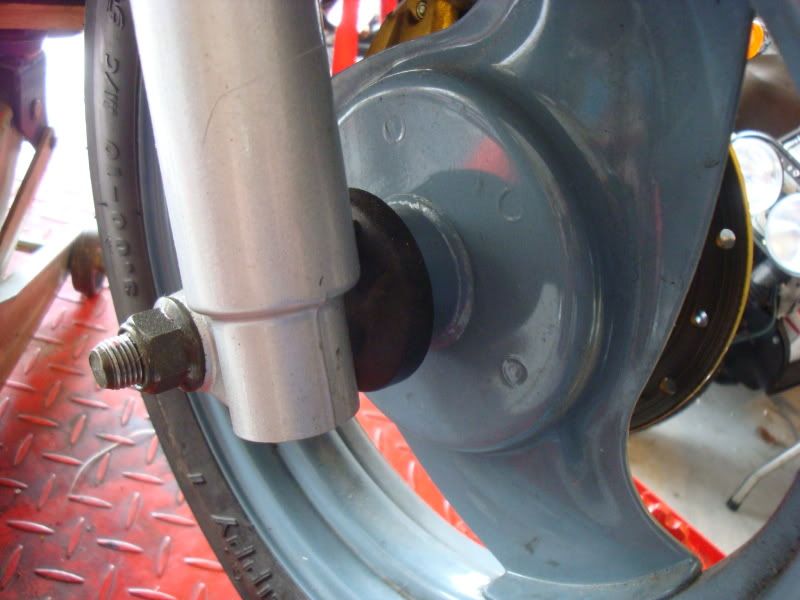
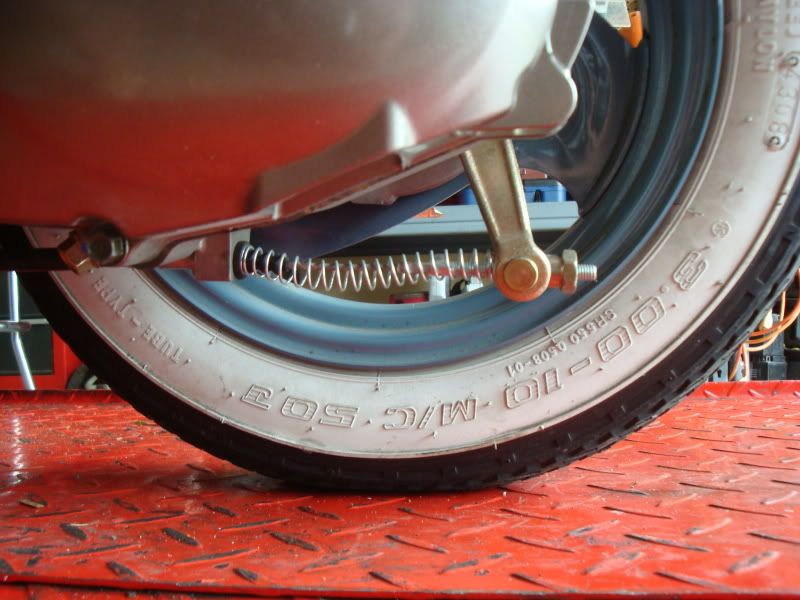
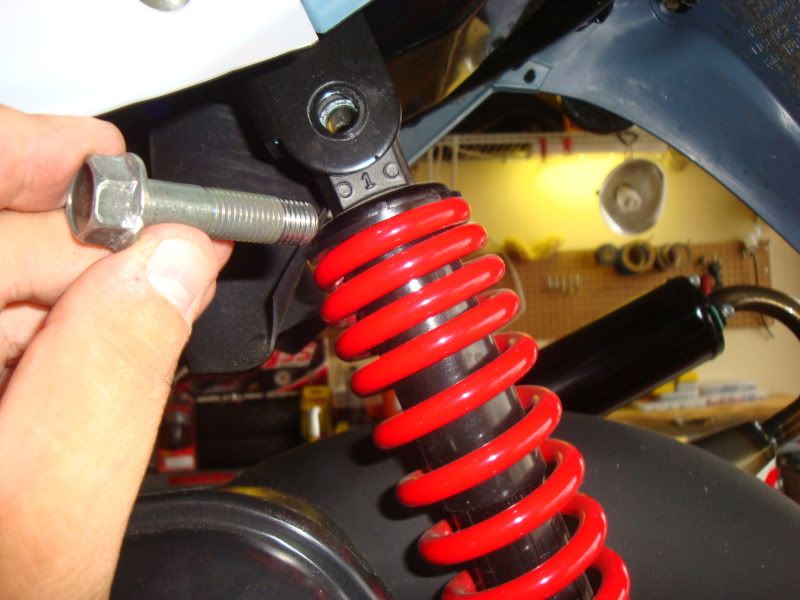
Remove rear shock and let the tire rest on the lift.
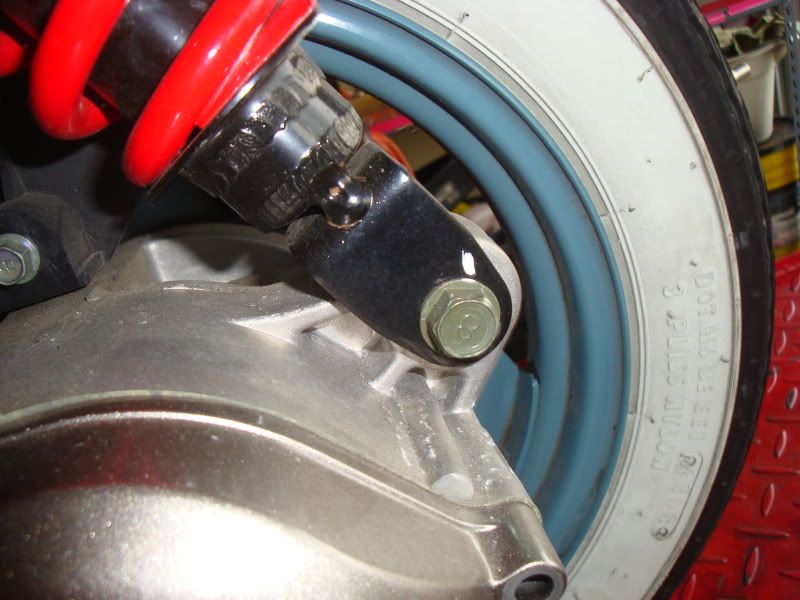
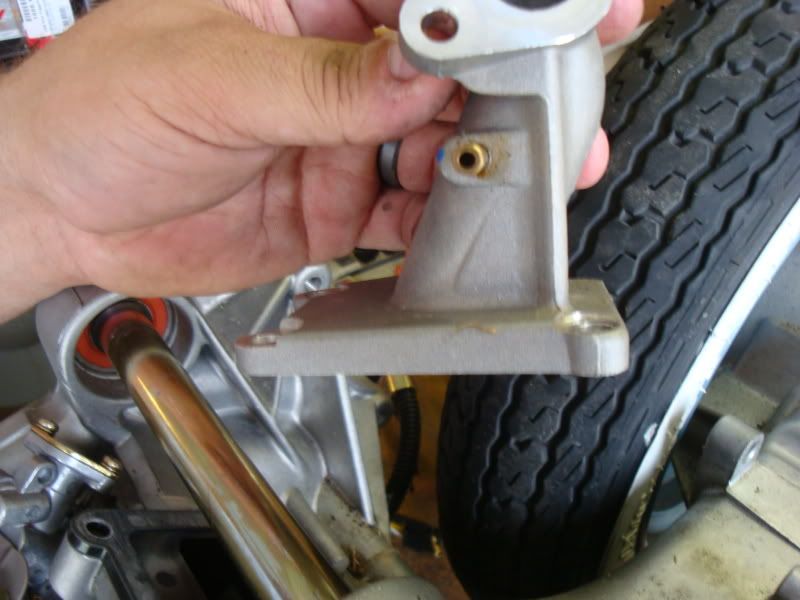
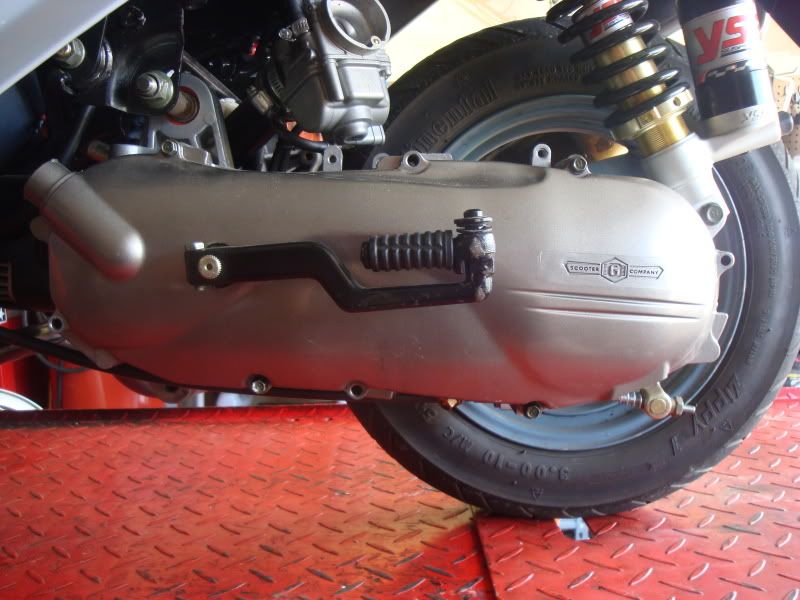
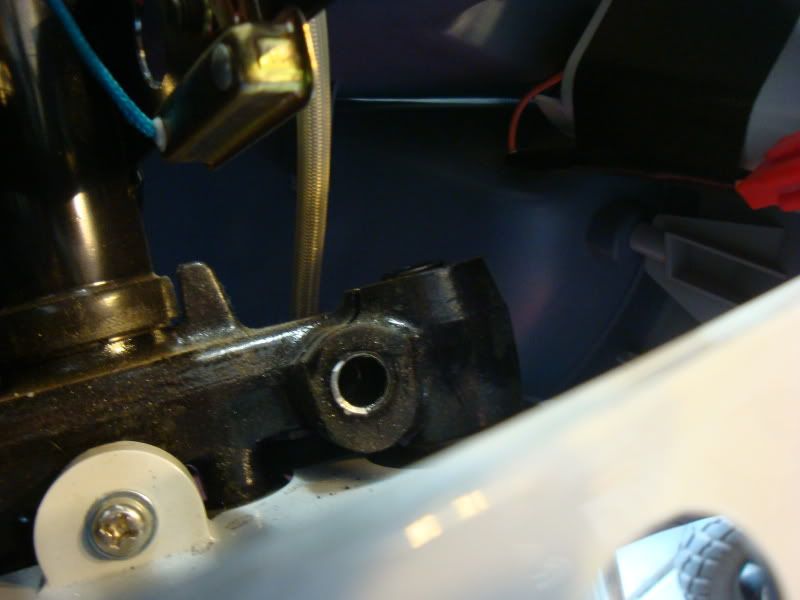
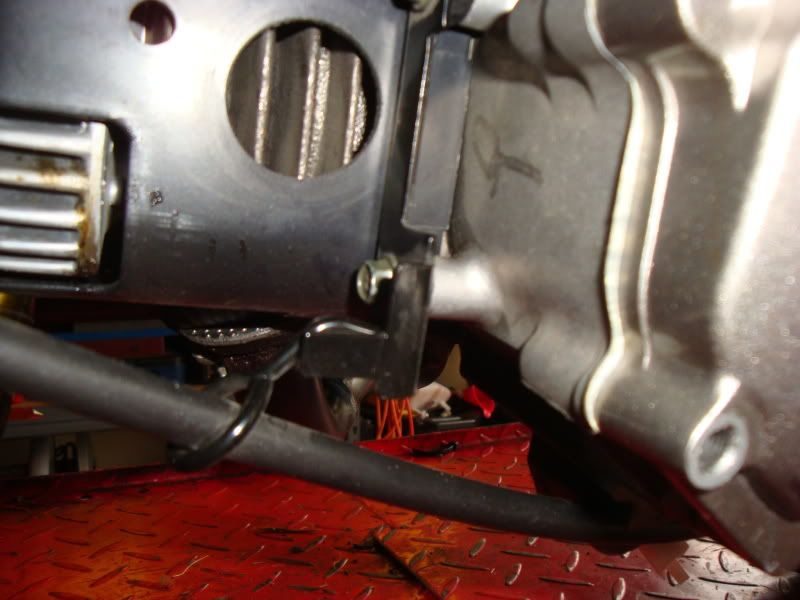
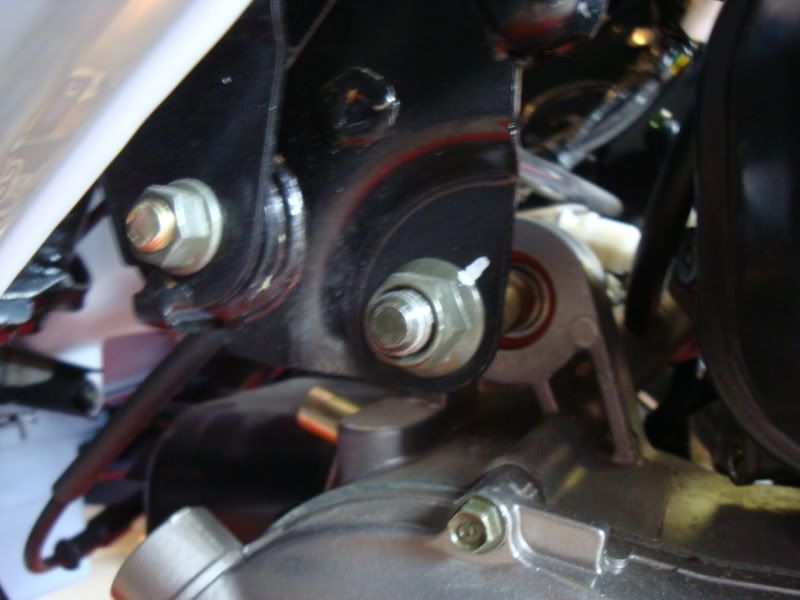
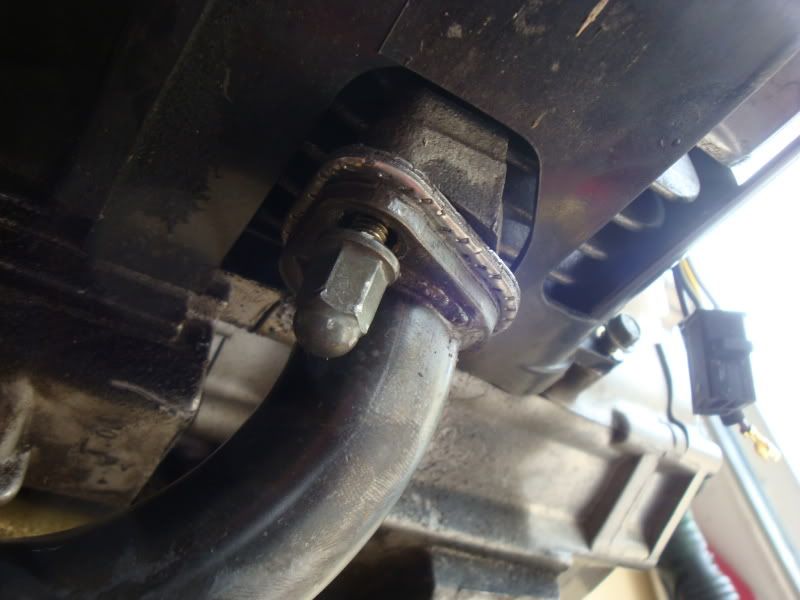
Locate and remove engine mount bolt.
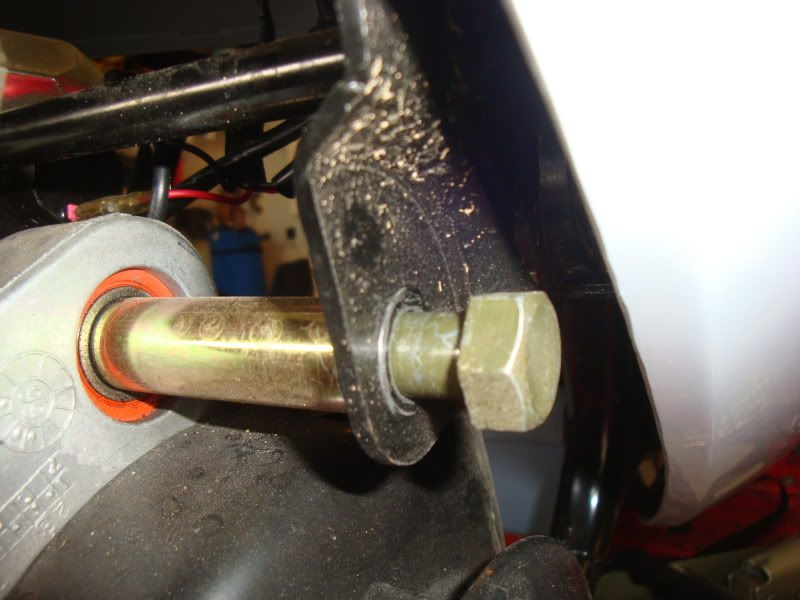
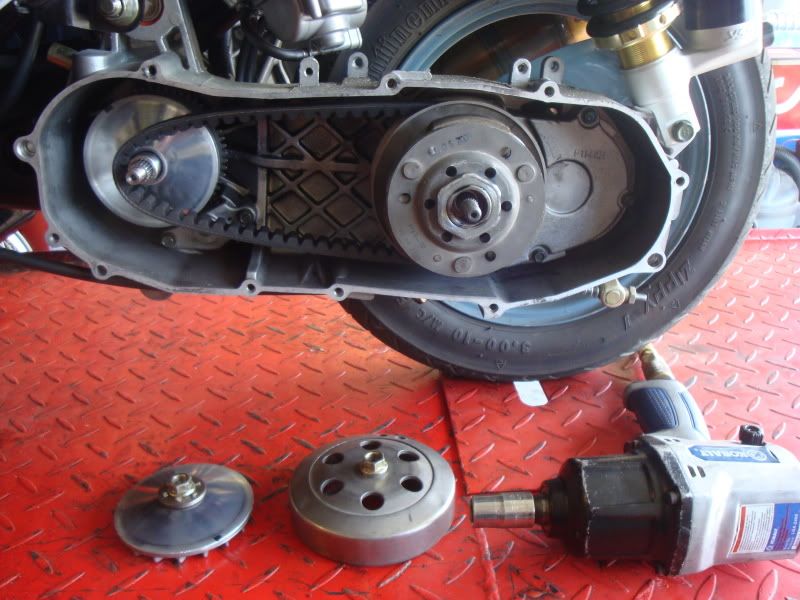
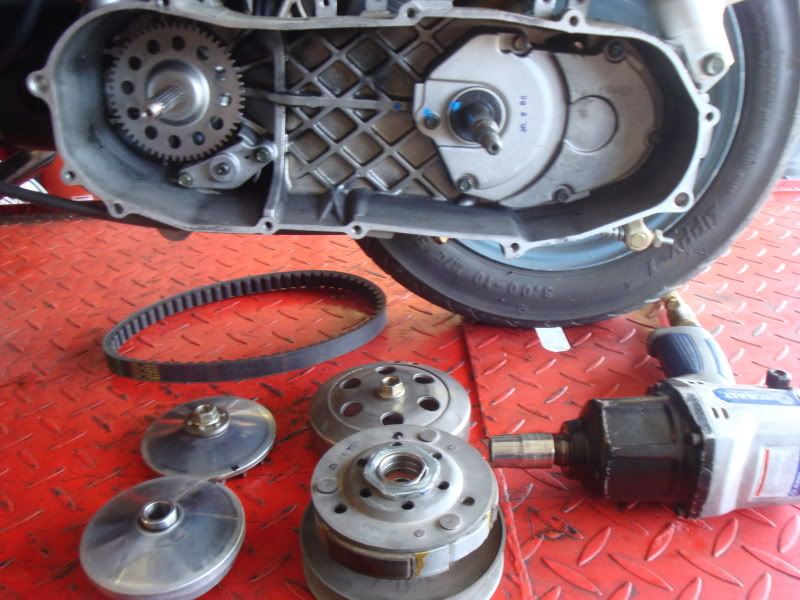
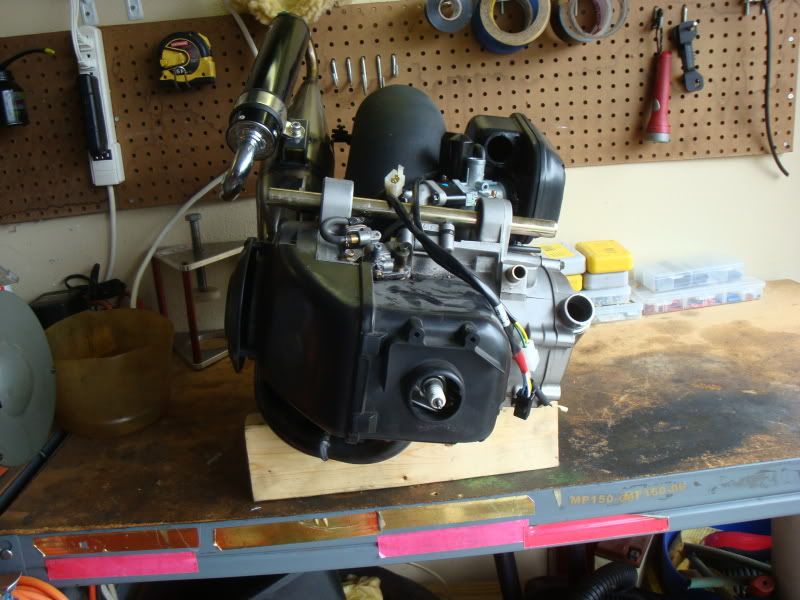
Make sure at this point that all of your wires are removed and and cables unhooked and slide the motor out and place on bench. I use a block of wood to hold the motor in place since this one no longer has a center stand. However your center stand will hold the motor nicely and will provide a excellent working platform.
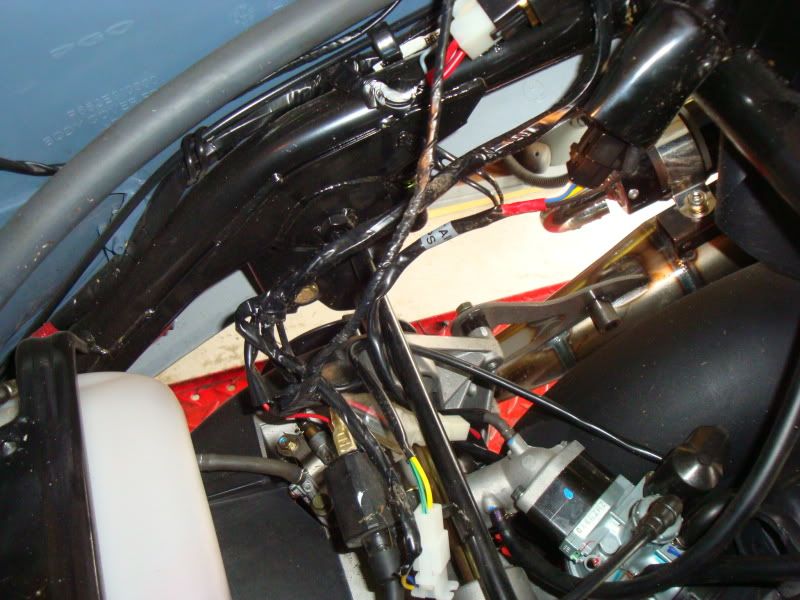
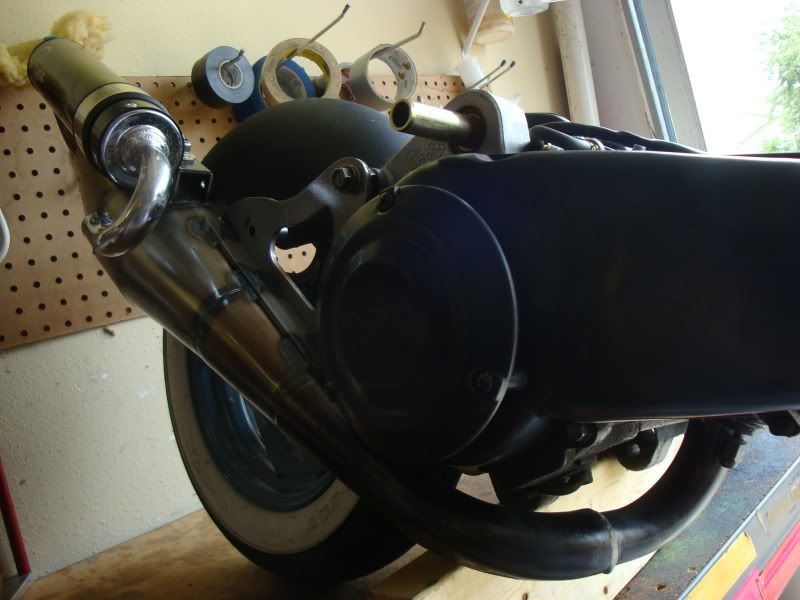
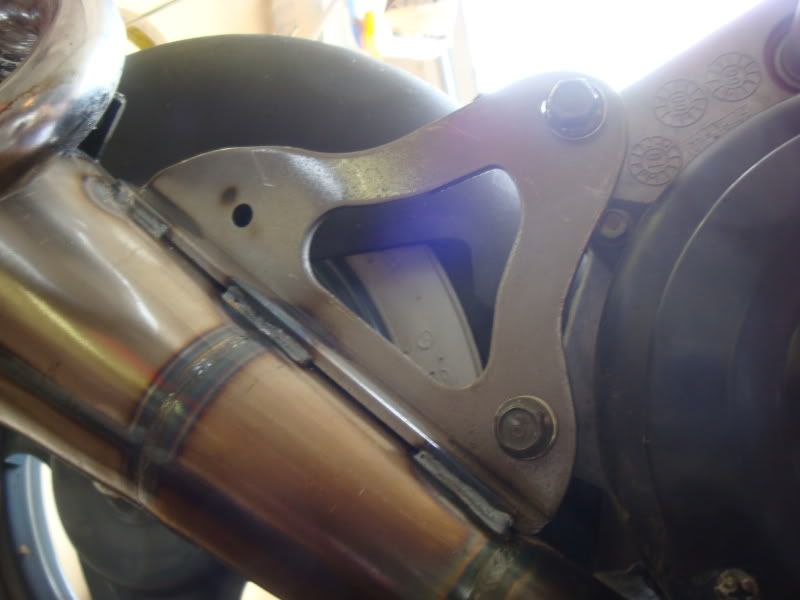
Next remove the exhaust.
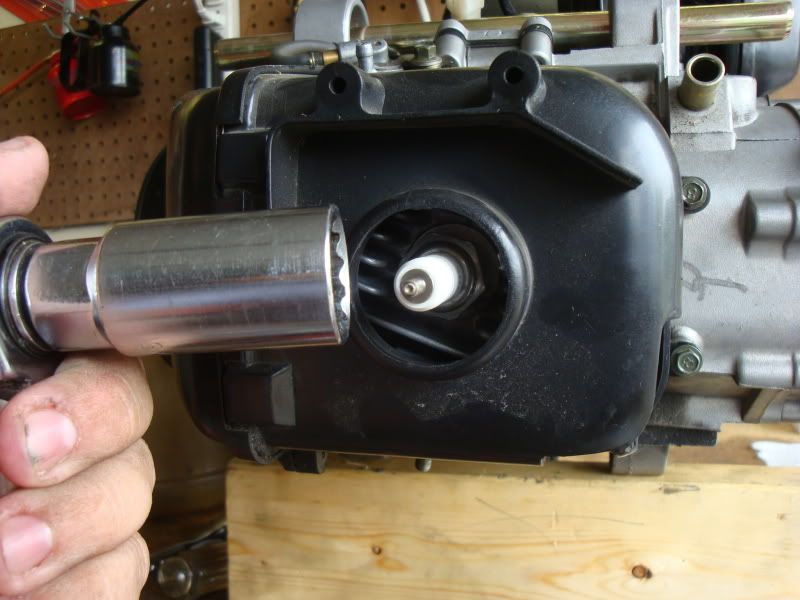
Remove sparkplug and engine shrouding.
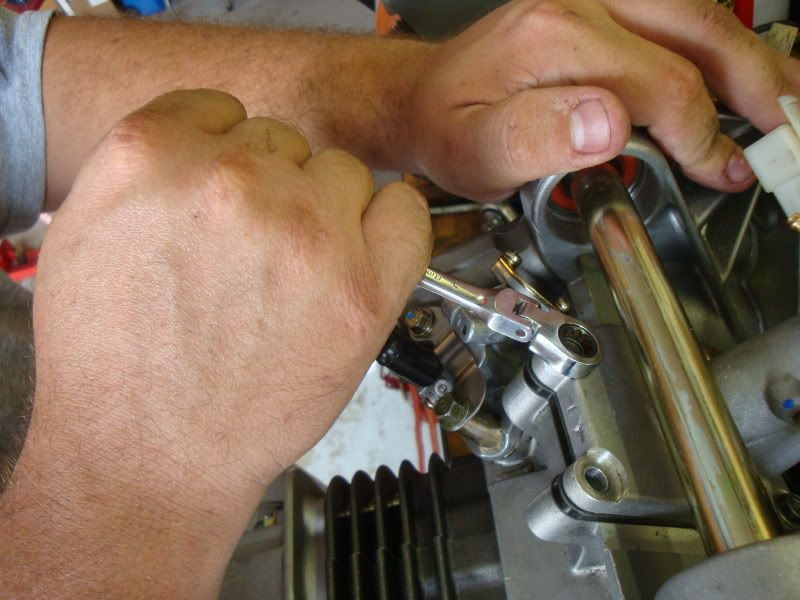
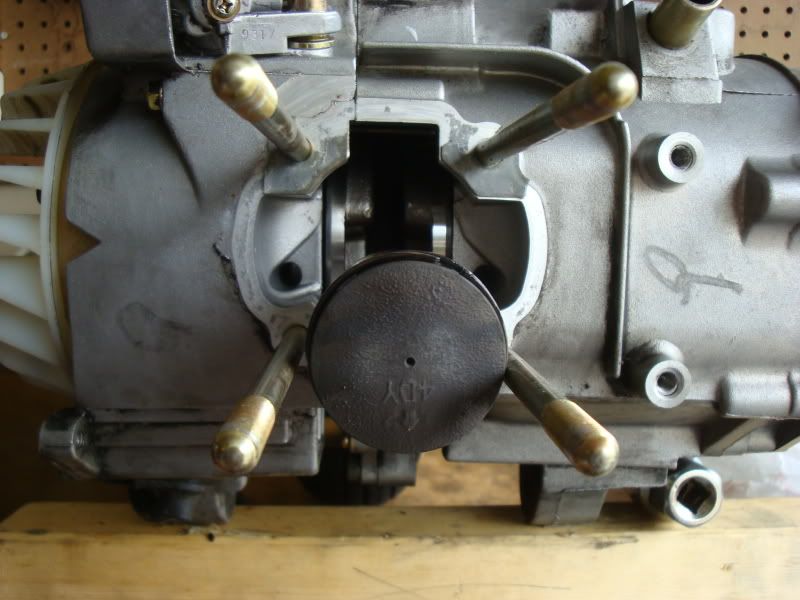
Remove the 4 head nuts.
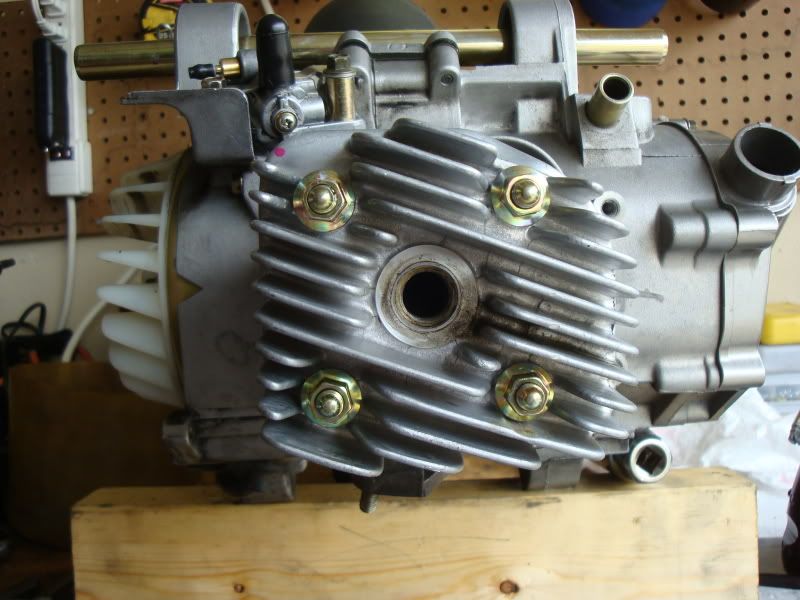
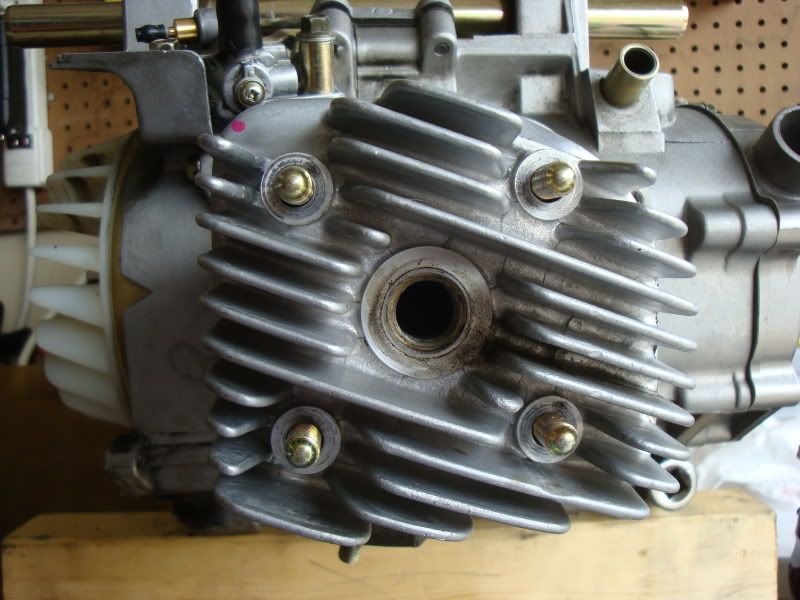
Remove head.
Remove gasket.
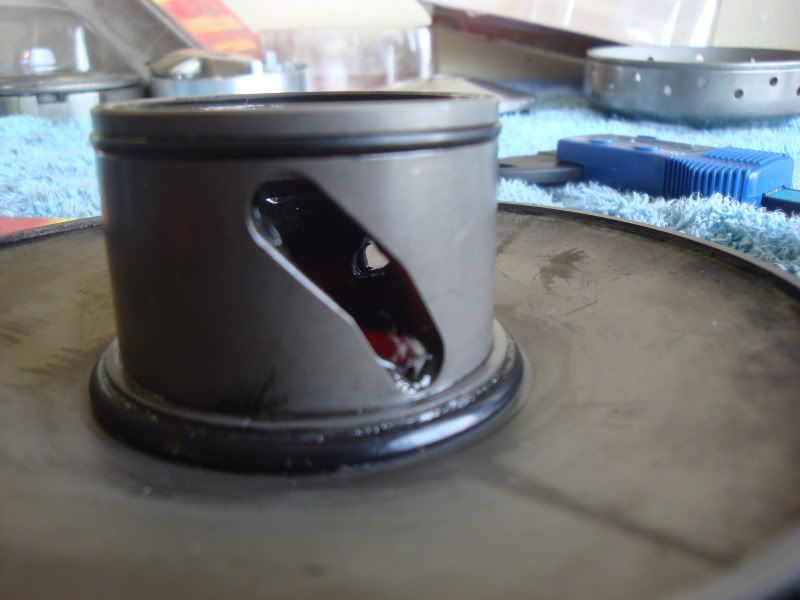
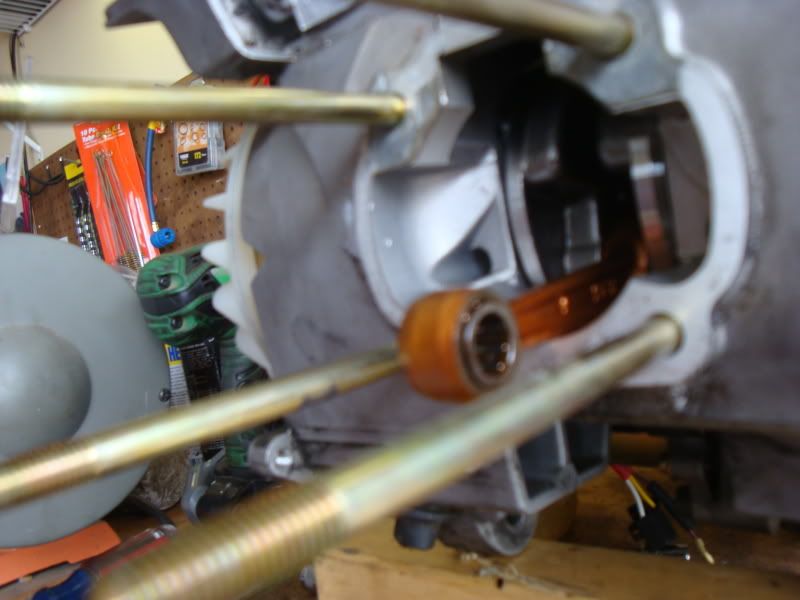
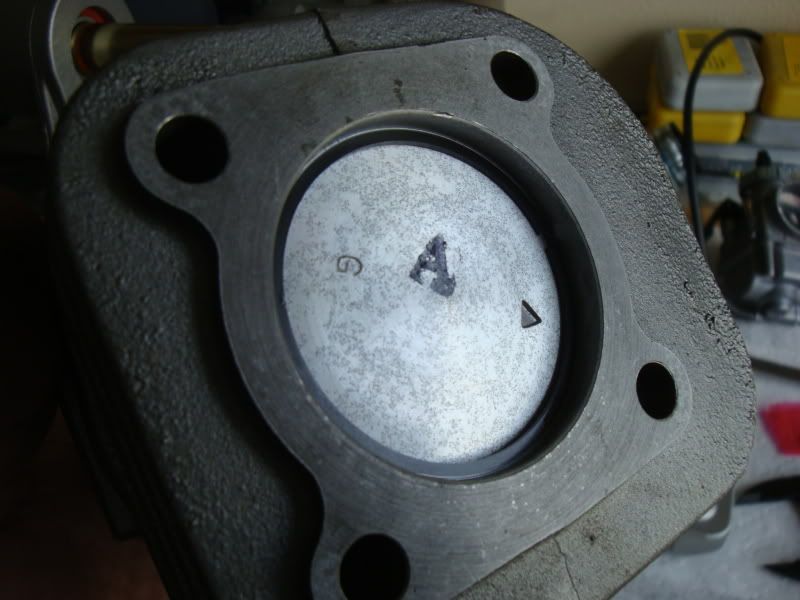
Remove jug.
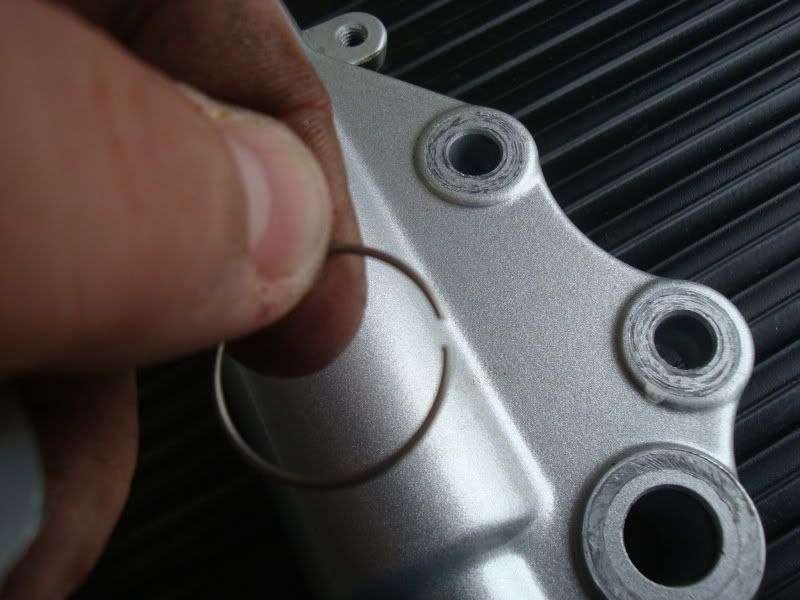
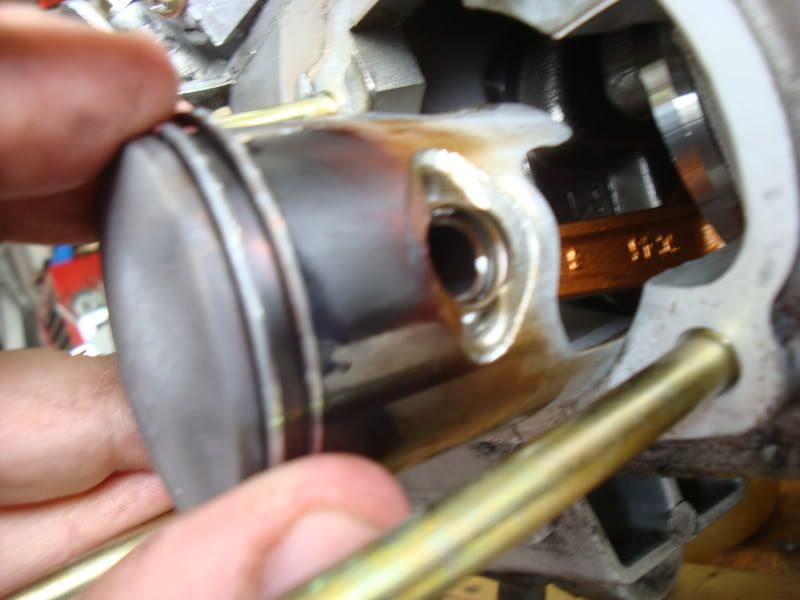
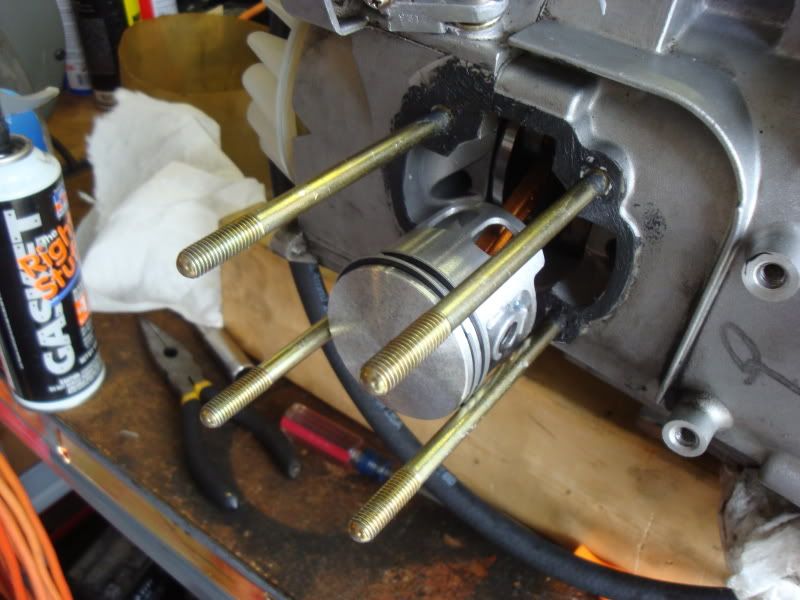
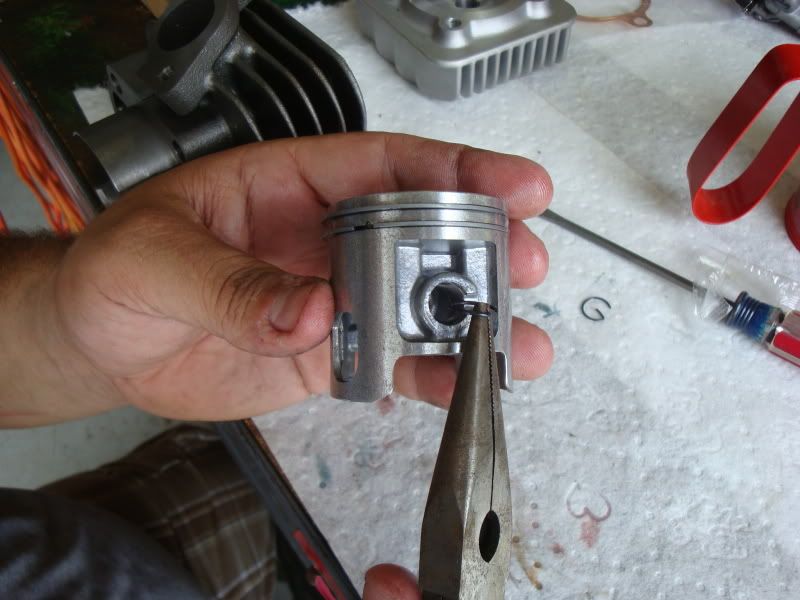
Remove the c-clips on the piston and slide out the wrist pin.
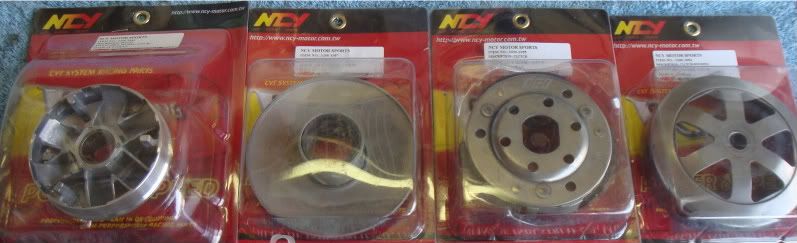
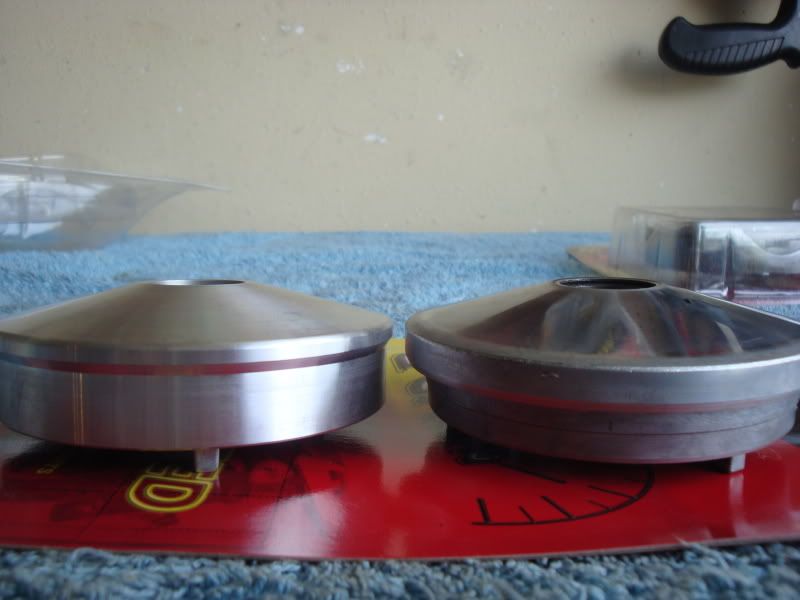
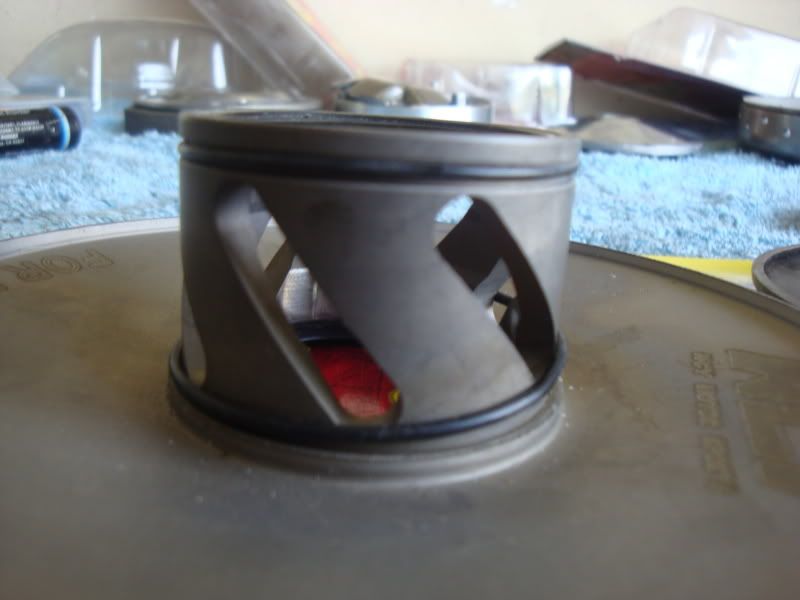
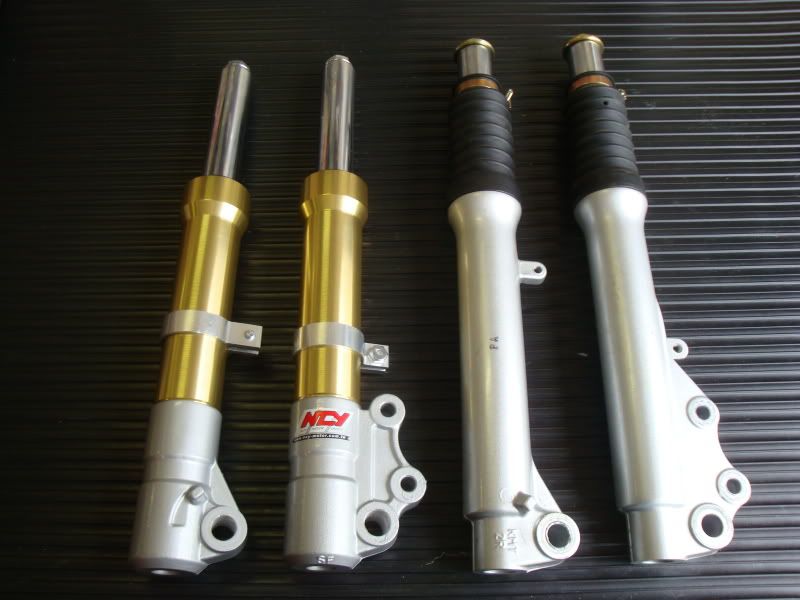
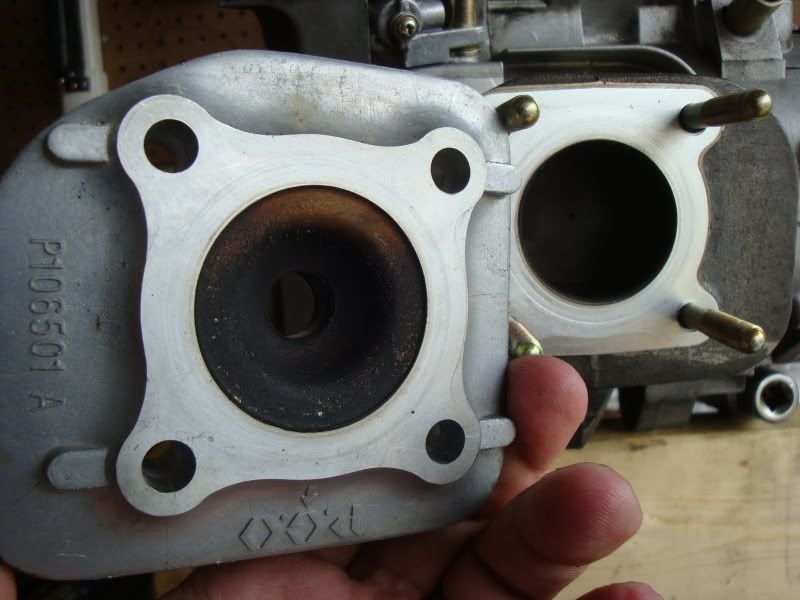
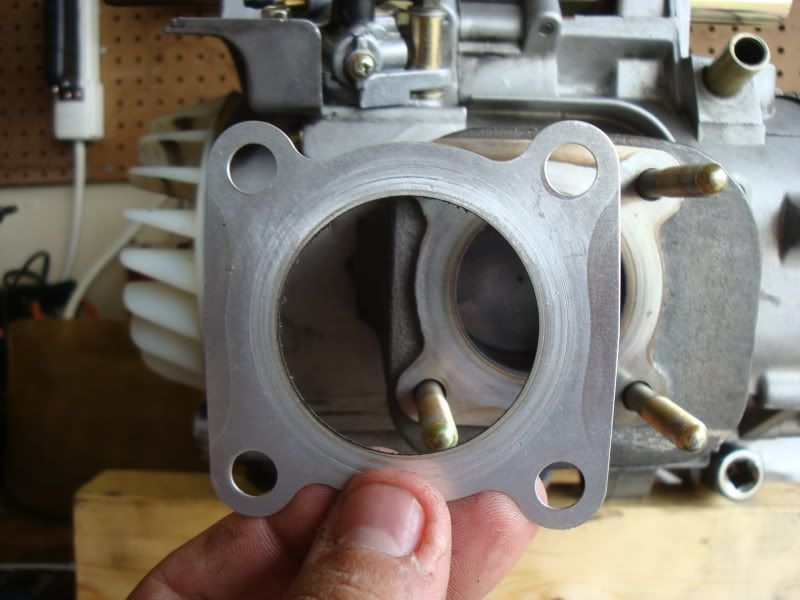
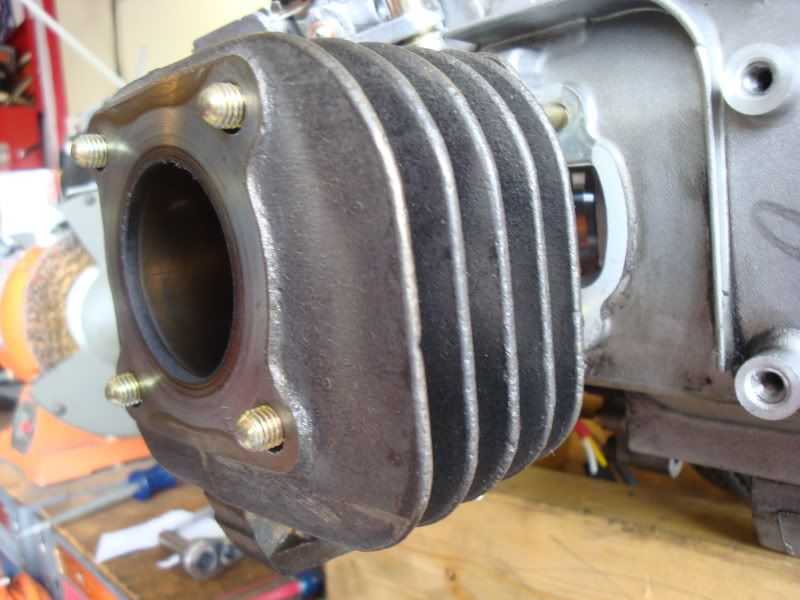
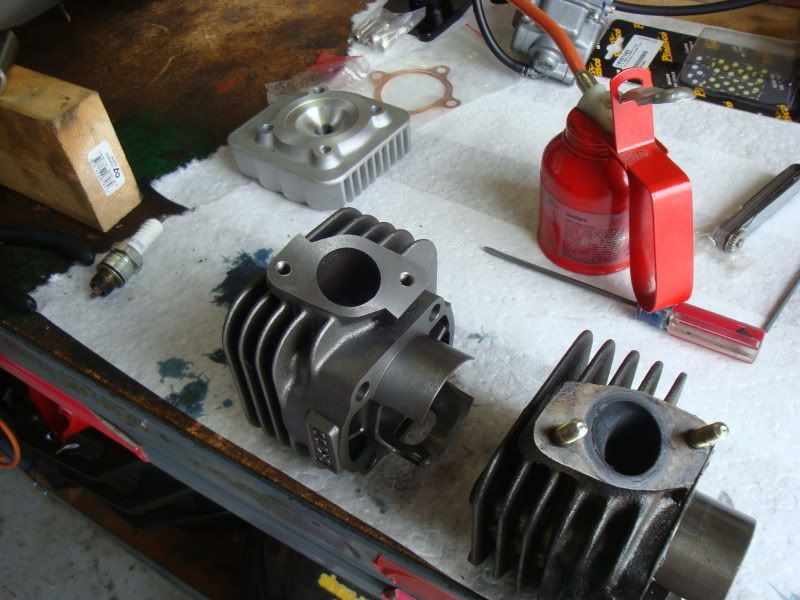
Prima 72cc kit vs stock
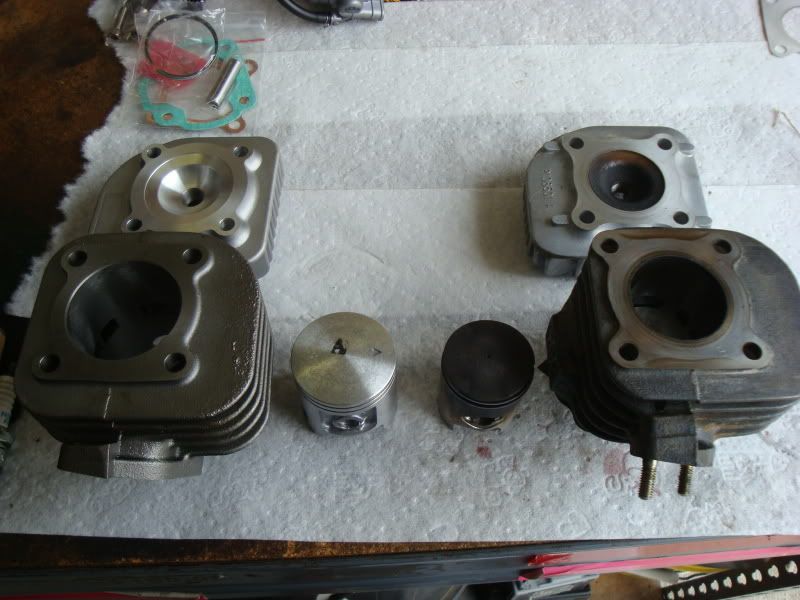
As you can see the bore is much larger along with larger intake and exhaust ports.
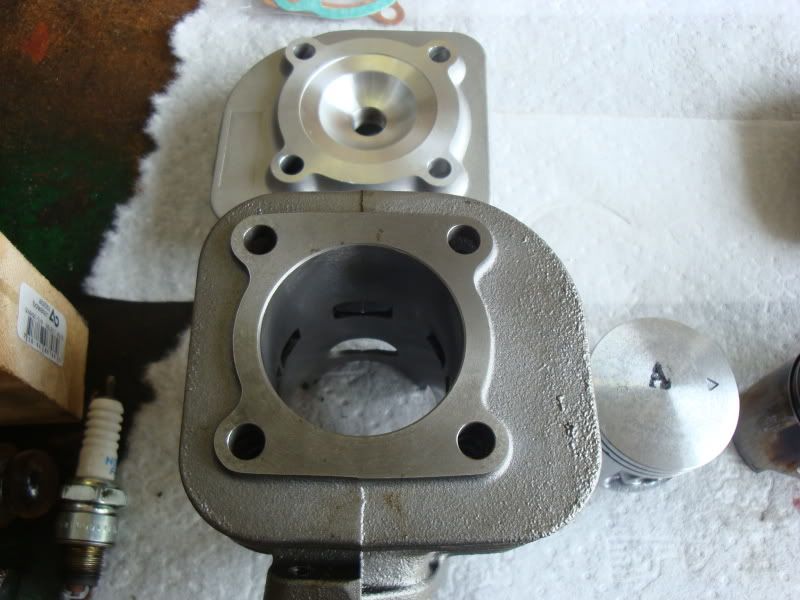
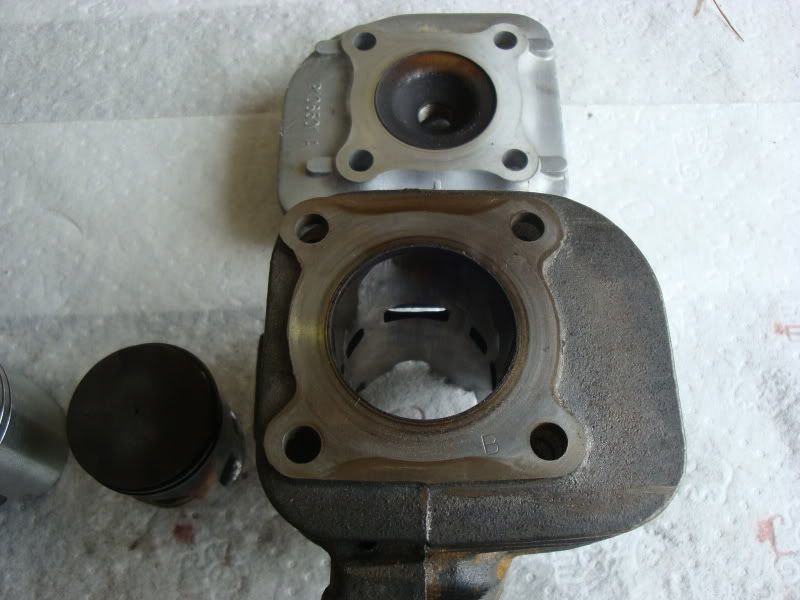
At this point you need to inspect the new kit and prep it for installation.
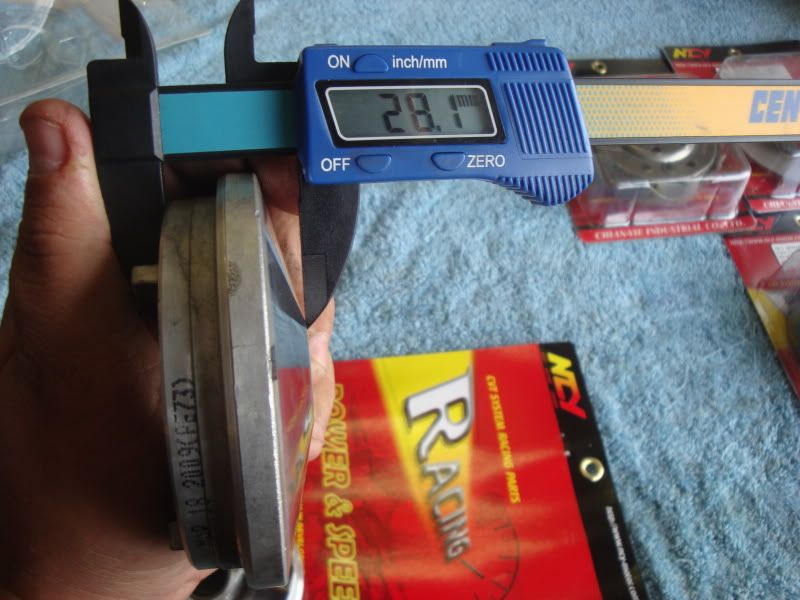
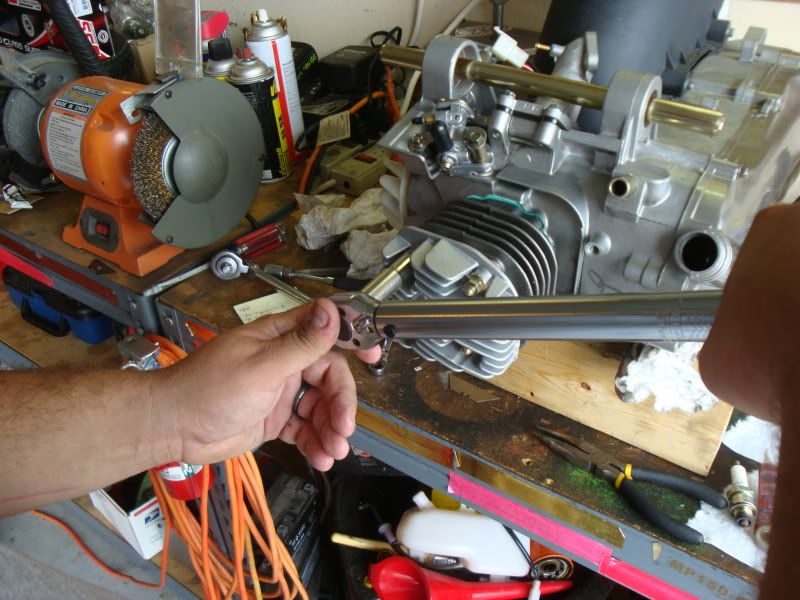
Take your handy feeler gauge .008 in and check your ring gap. Ring gap is the space between the ring ends when its compressed by the cylinder.
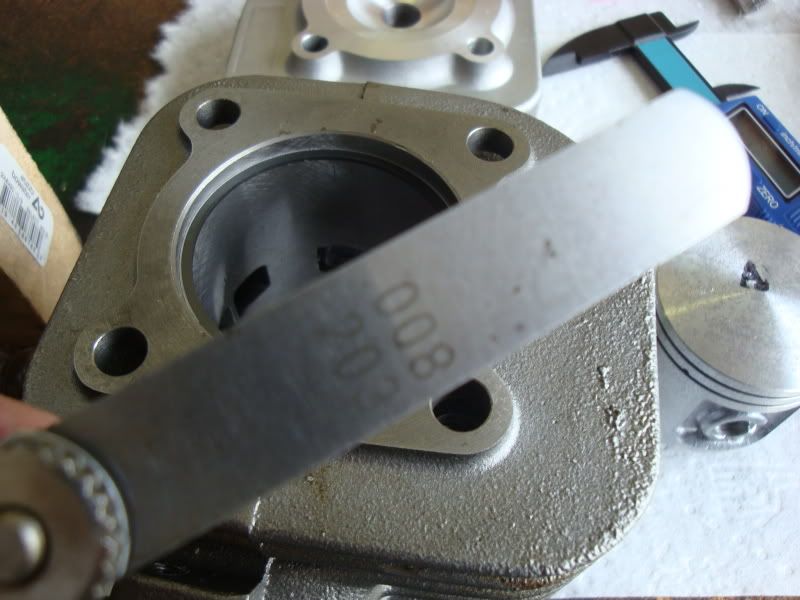
Install the ring in the jug and use the piston to push up against it making sure its flush.
Now measure. If the ring gap is to tight you will need to file it down until it meets spec. If its too large you will need to purchase a new set of rings. Fortunately for us the Prima kit was spot on, both rings.
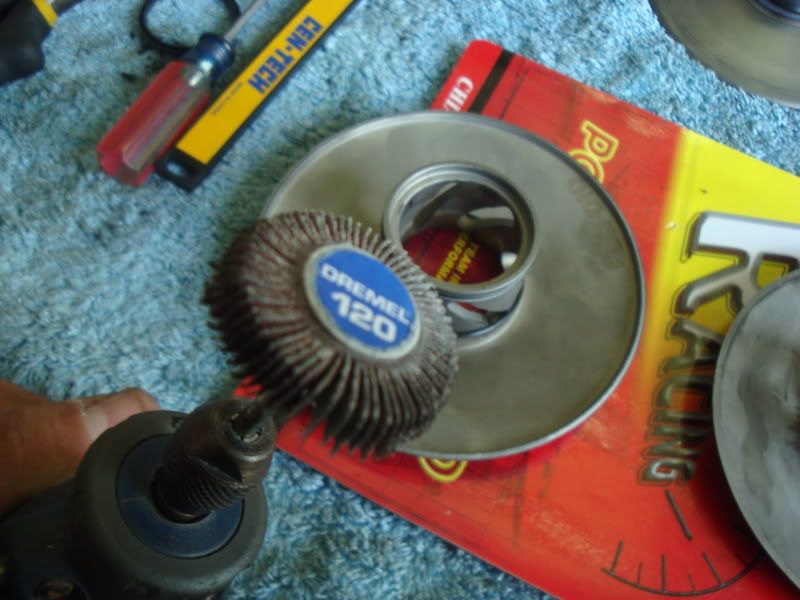
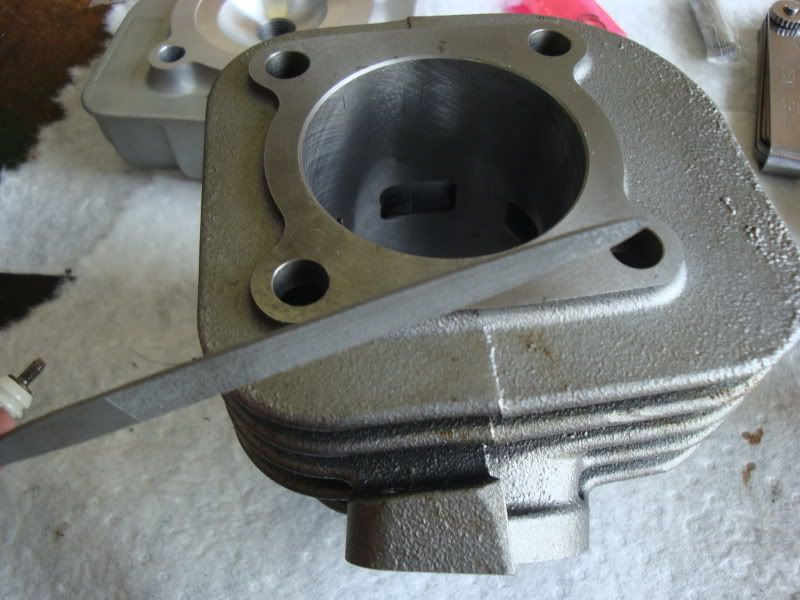
Now remove all the old exhaust studs and install them in the new jug.
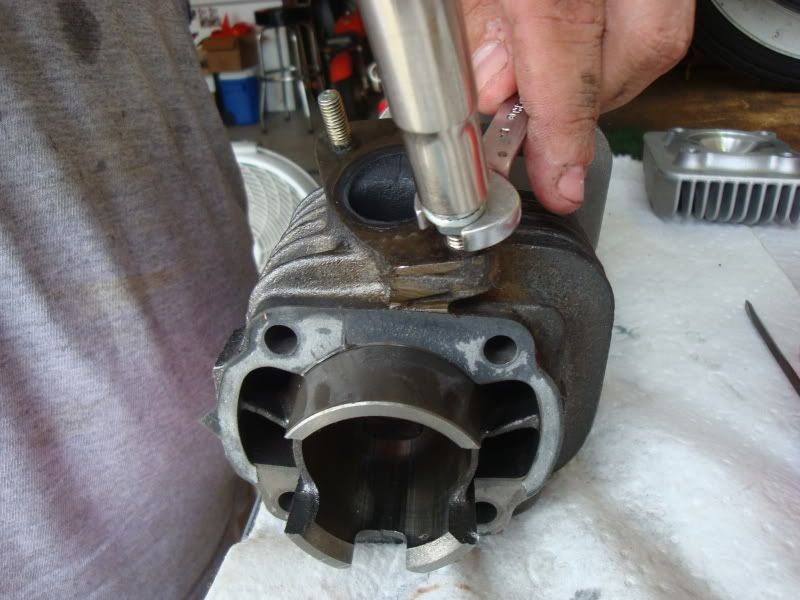
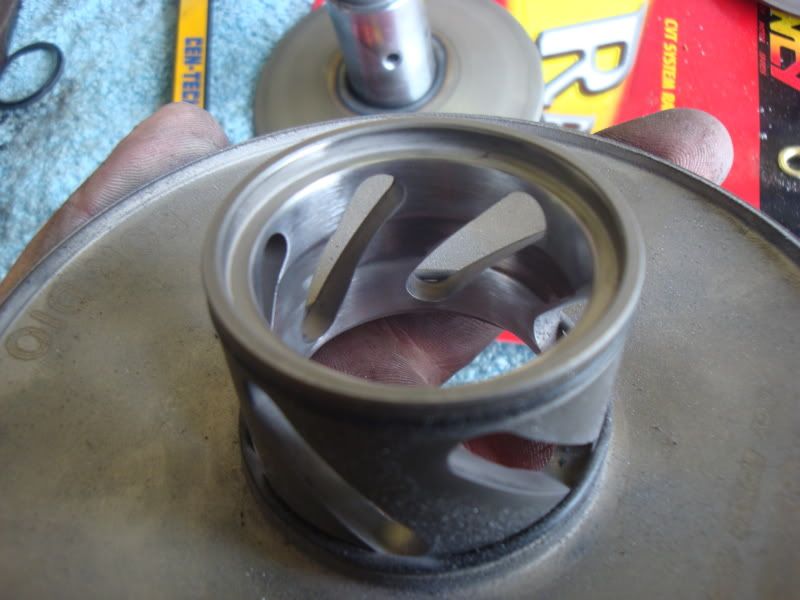
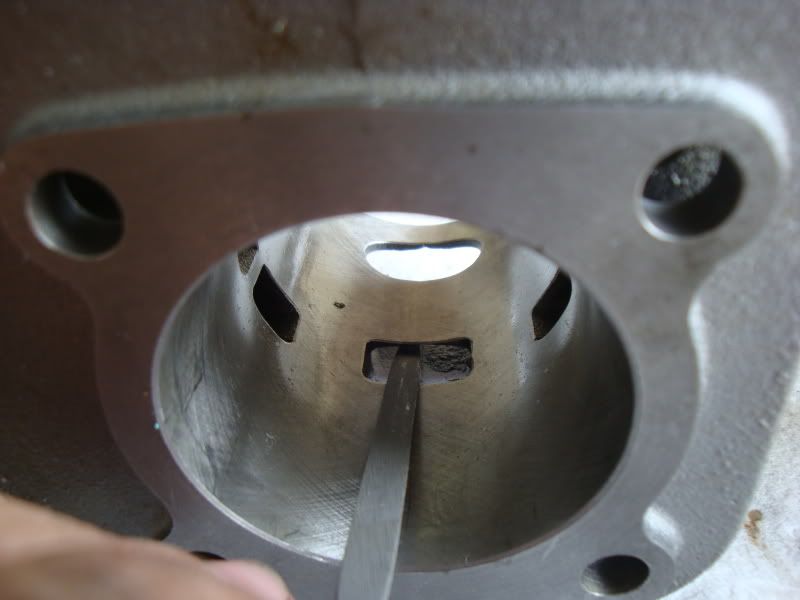
Next up (use special care here) is to chamfer the ports. Most of the time from the factory a cylinder will have sharp edges on the boost, intake, and exhaust ports. Those can hurt your rings during break in and you need to take a small file and remove all sharp edges.
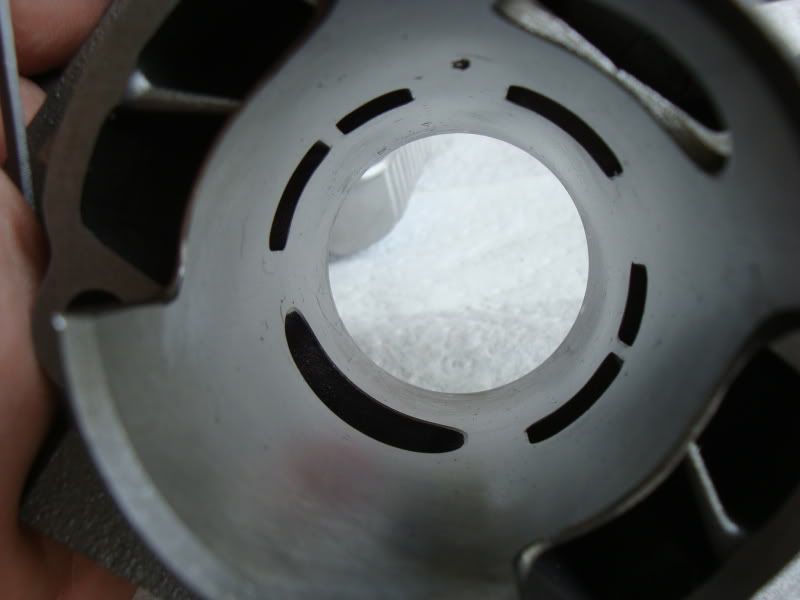
Now that all the edges are smooth its time to install the rings.
Take a look at your piston. You will see a small dowel on each ring groove. Make sure the end of each ring rests in its own dowel.
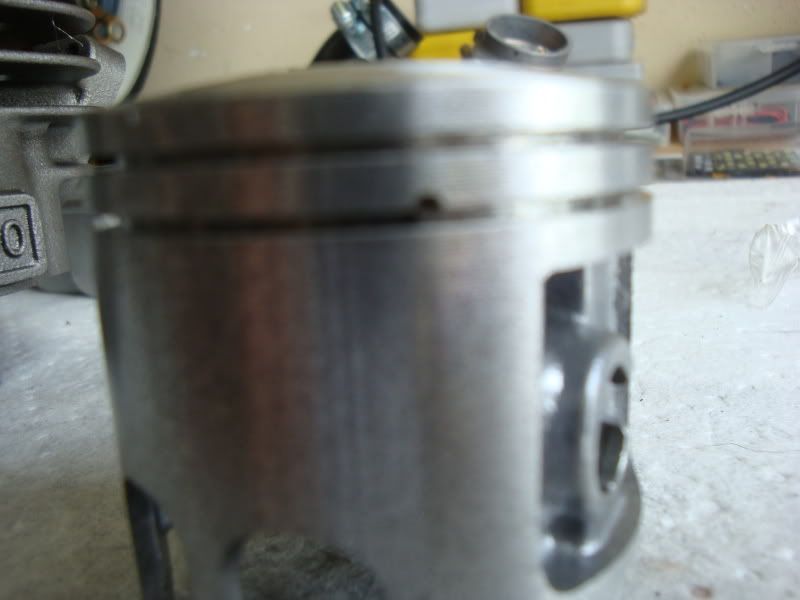
Apply a liberal amount of 2 stroke oil and install the rings. Be careful here not to over stretch or break a ring.
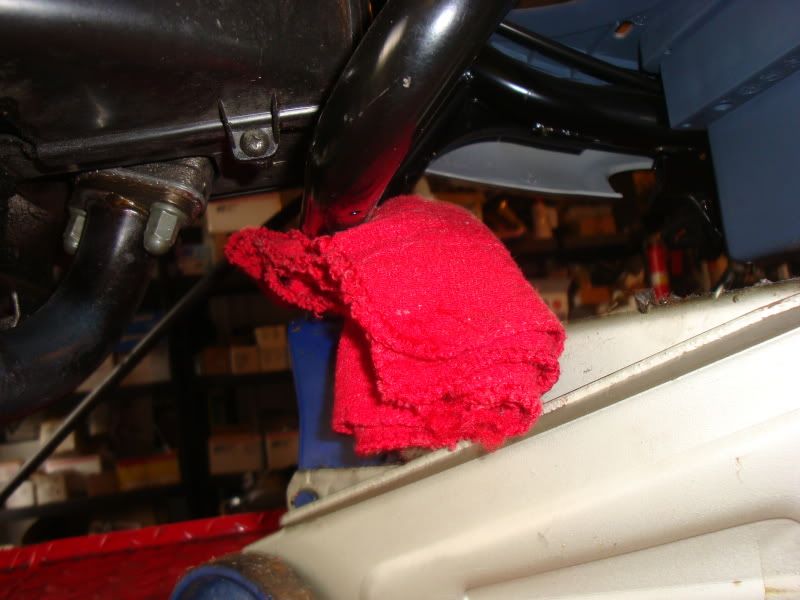
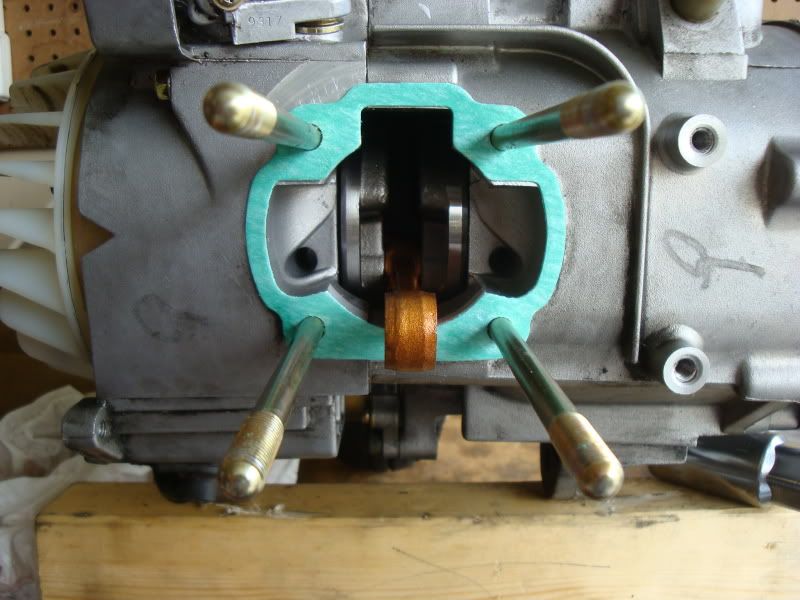
Now remove your old gasket from the block making sure not to get anything in the engine. Its best to stuff a clean rag inside the case to ensure nothing makes its way into the carters.
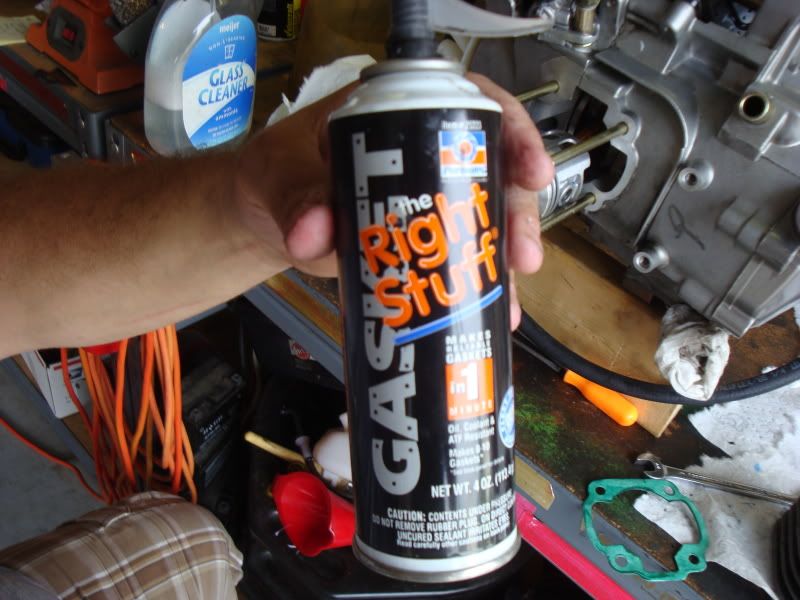
I always use a dab of "the right stuff" gasket maker to my base gaskets to ensure a good seal.
Install base gasket.
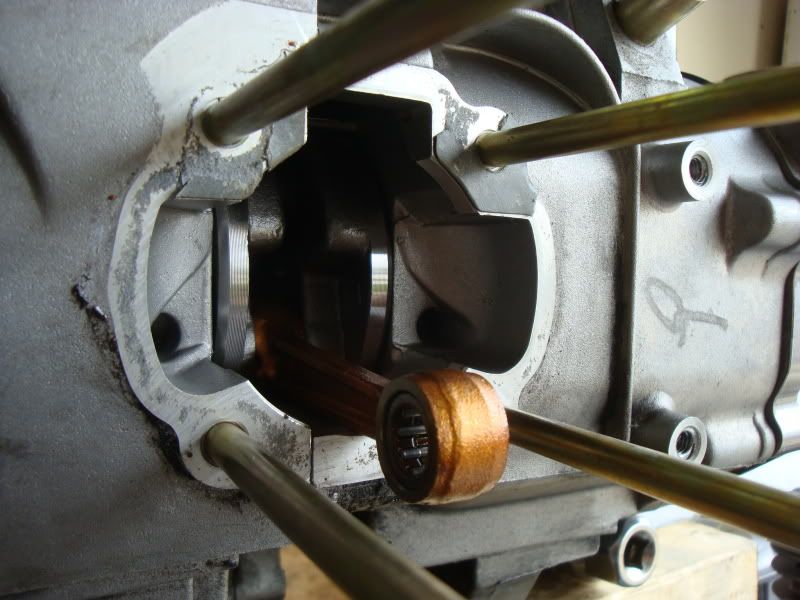
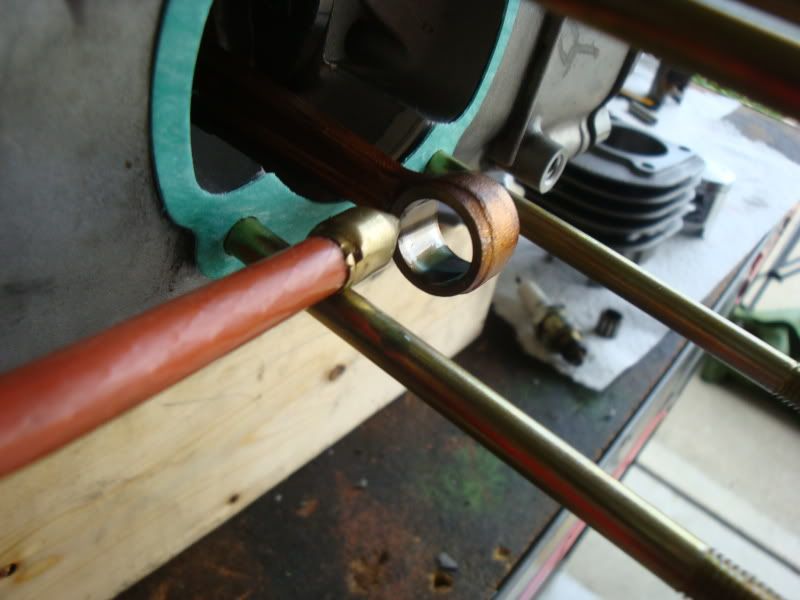
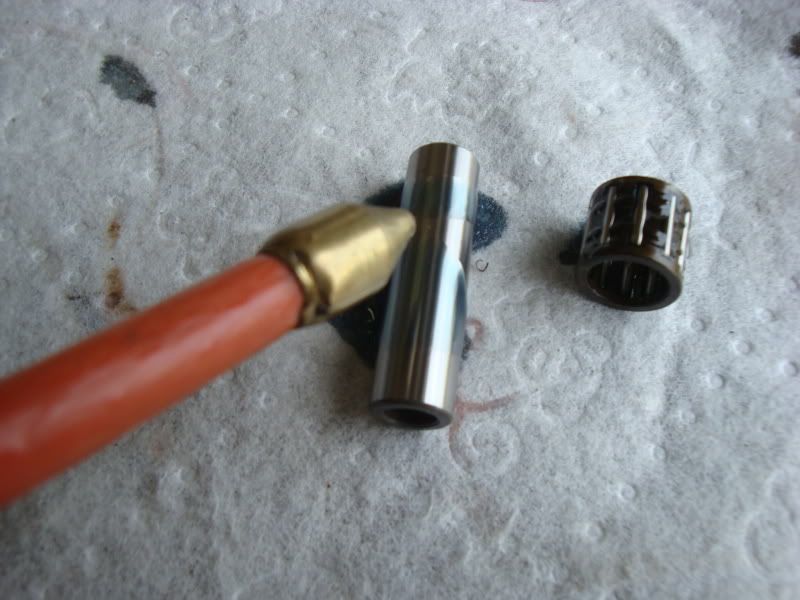
Next apply a liberal amount of 2t oil on your connecting rod small end, wrist pin, and on the needle bearing.
Install c-clip to one side of the piston.
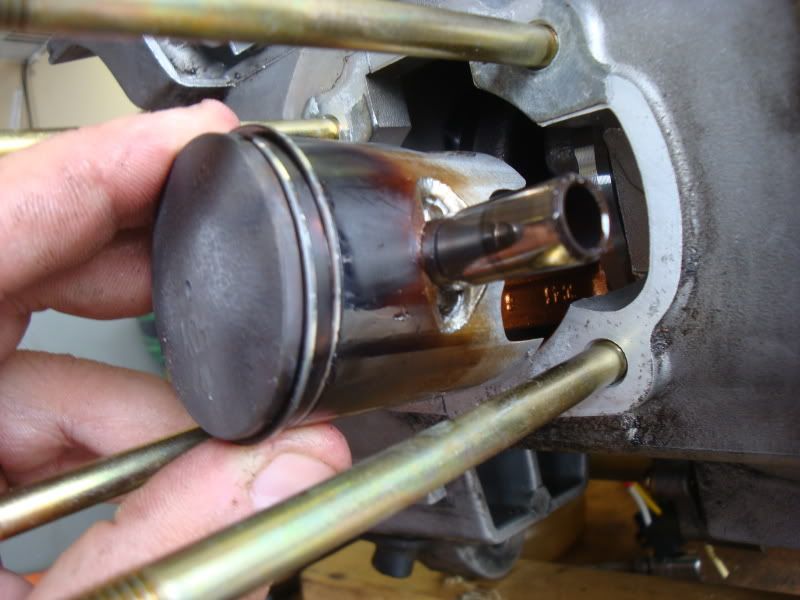
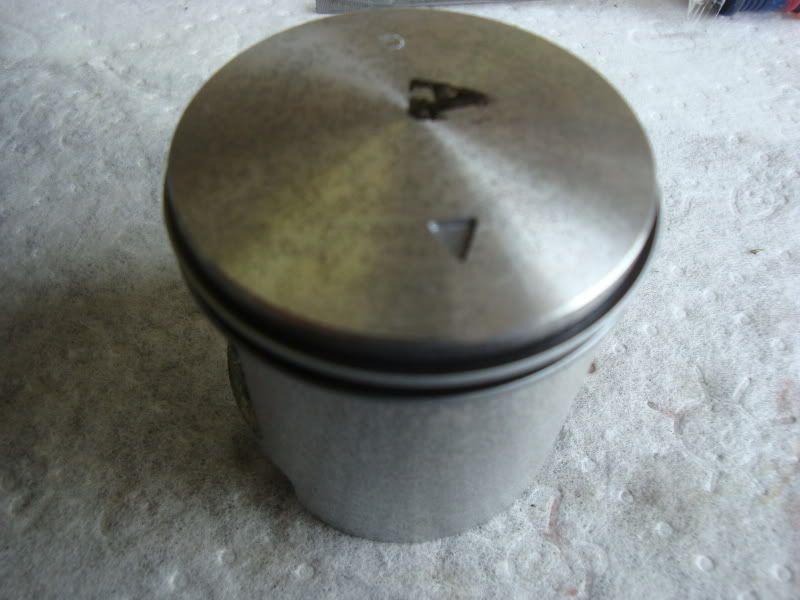
Install needle bearing back into the rod. Put the piston over the rod and push in the wrist pin. Make sure the arrow is pointing down towards the exhaust port.
Install the other c-clip, make sure you get the gap of the c-clip 180 degrees from the piston clip installation grove.
Apply a liberal amount of 2t oil to the piston and inside the jug.
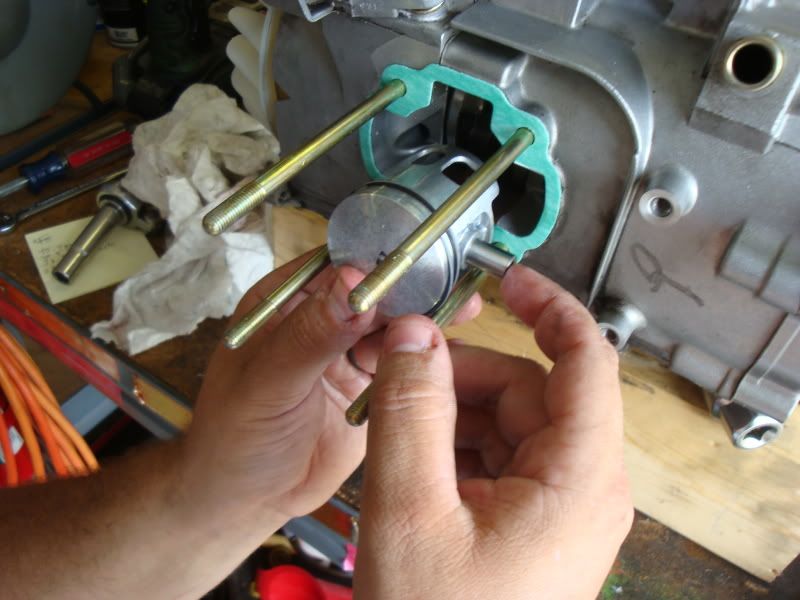
Now install the jug by lining it up on the four bolt studs.
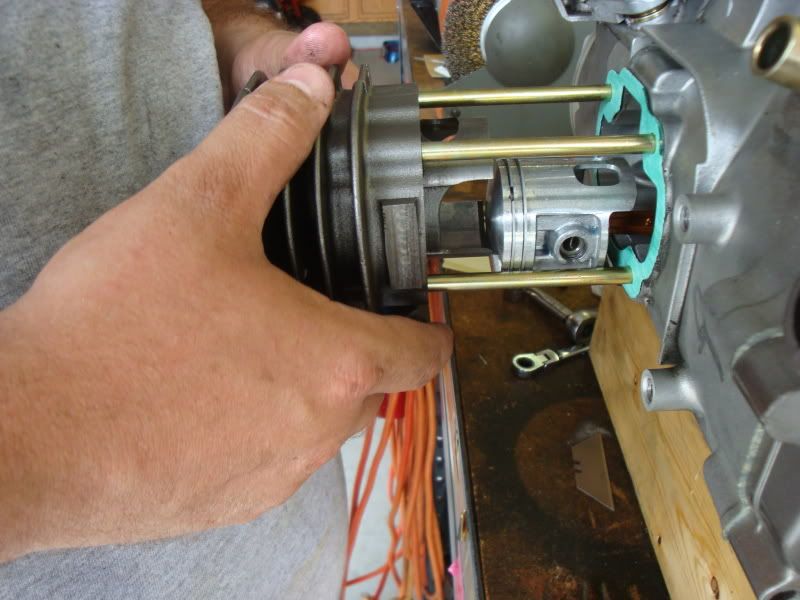
Carefully compress each ring and slide the jug over the piston. Exercise care here, you don't want to have to tear everything back down because you damaged a ring.
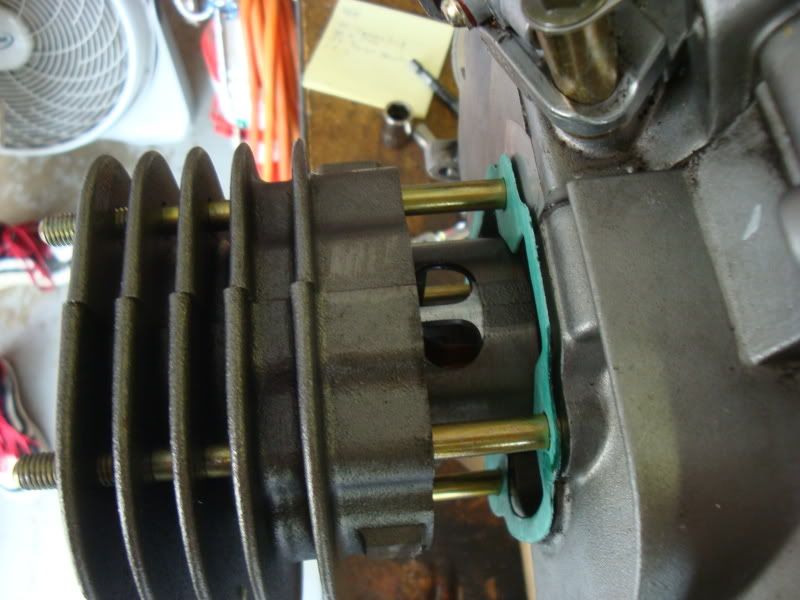
Install head gasket.
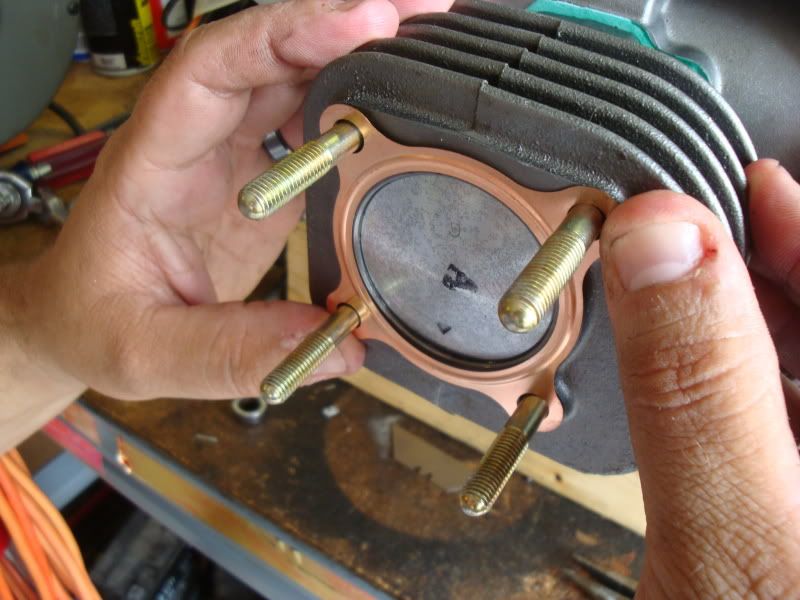
Install head and torque down to 15 inch pounds.
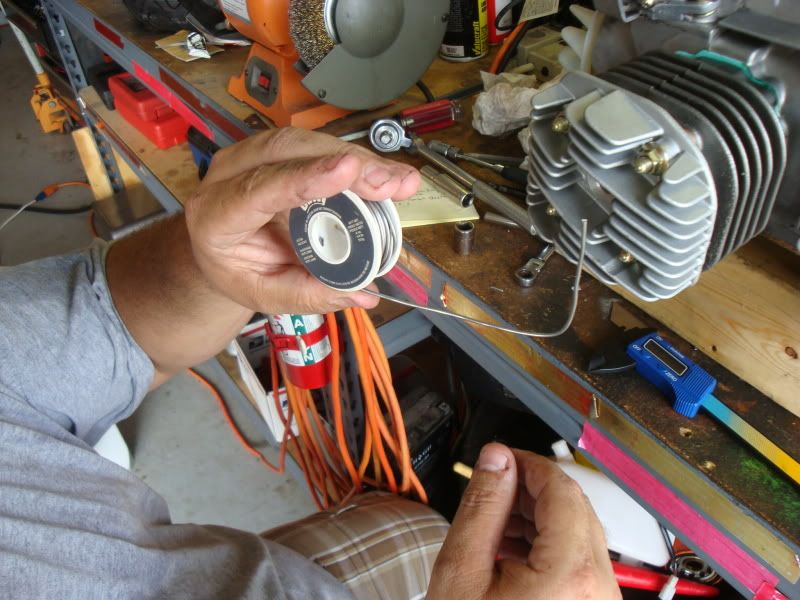
Now its time to check our squish clearance. Squish is the space between the piston and the head at top dead center. Too low of a squish and you have high compression, to high and you have poor performance. I like my squish for daily riders to be between 1-1.3mm
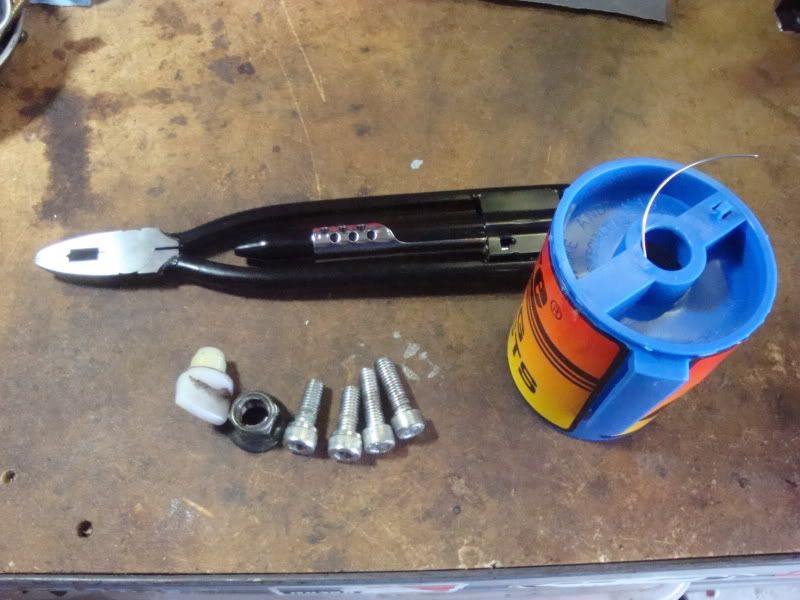
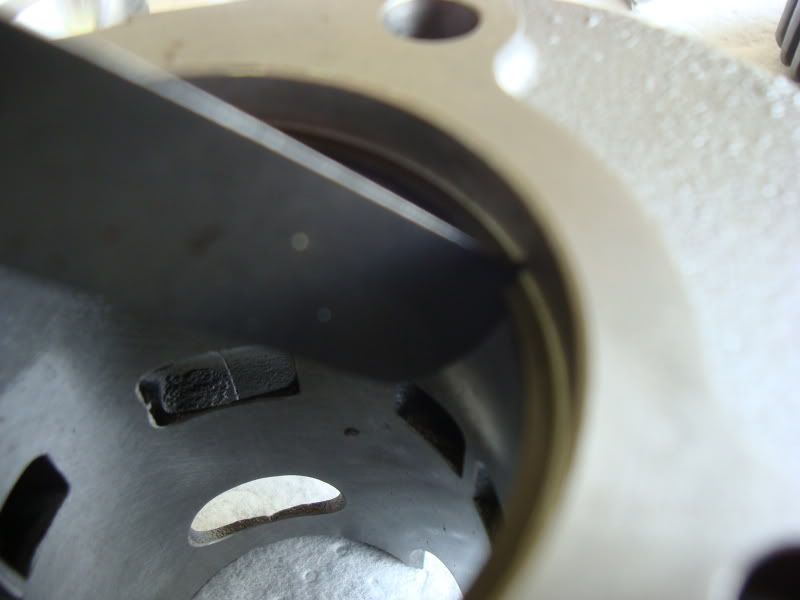
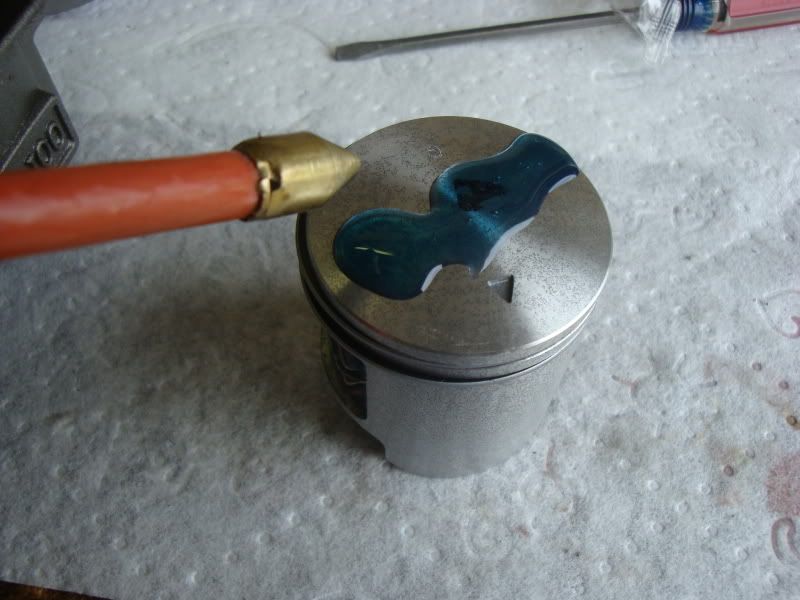
To check your squish you will need some solder and a mic.
Take a small piece of solder and make a (L) shape and place it inside the jug through the sparkplug hole making sure it touches the side of the jug.

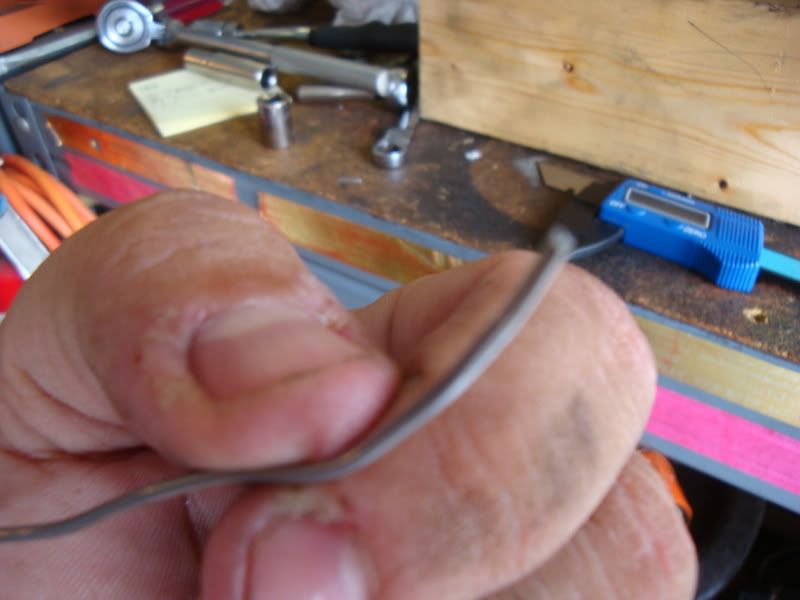
Rotate the motor by hand a few times and remove solder.
See how the piston smashed the solder. Measure this with your mic.
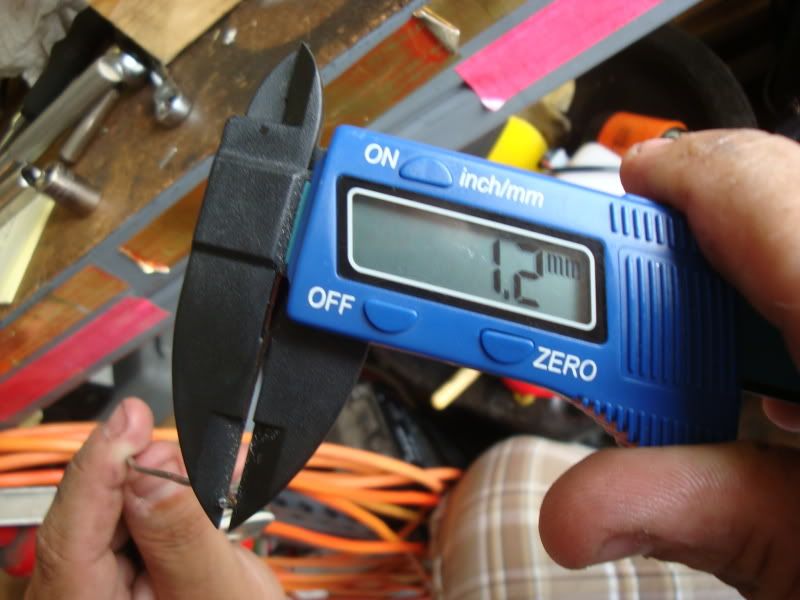
1.2mm looks like we are in good shape. These Prima kits are truly bolt on and go

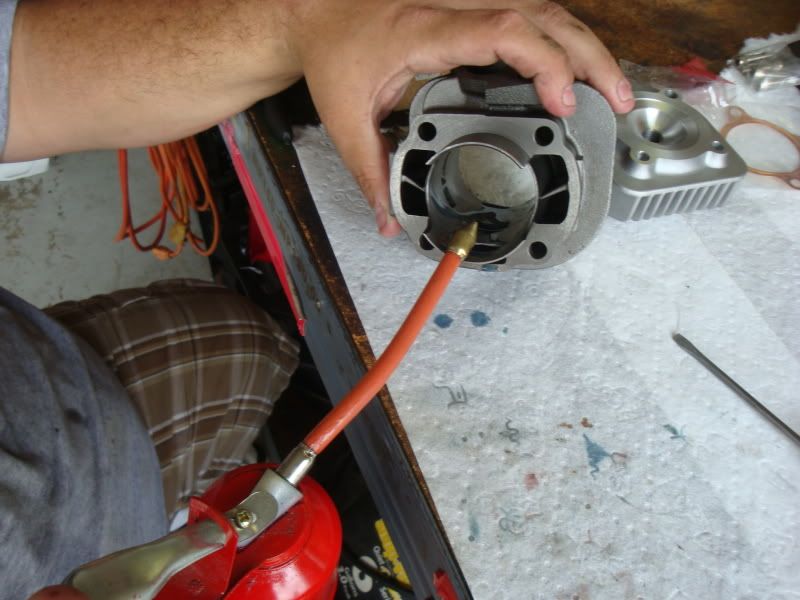
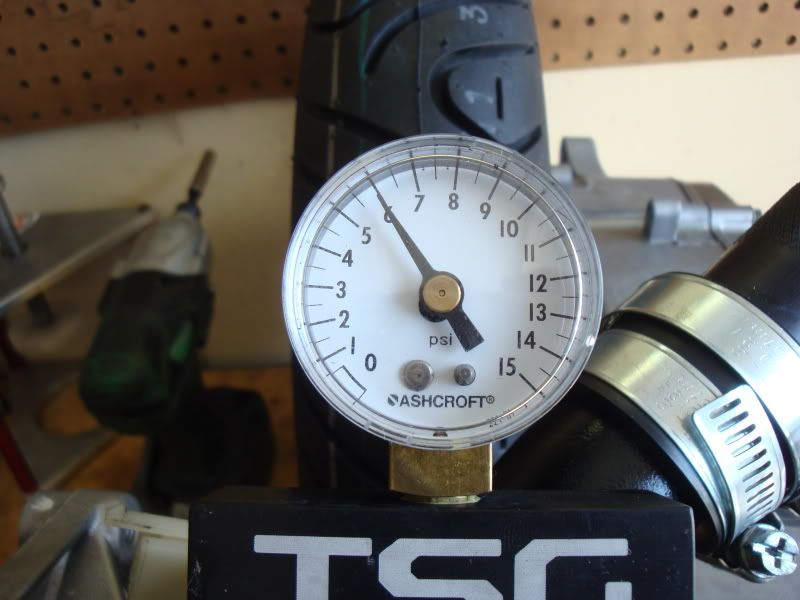
Now its time to do a pressure test on the engine. 2 Strokes are air pumps and if there is a leak in the system you will run lean and have one heck of a time trying to tune your motor. I have a expensive tester but you can make your own for only a few bucks, google it.
Ok hook your tester up to the engine by installing the spark plug, capping the exhaust port, and installing the coupler to the intake.
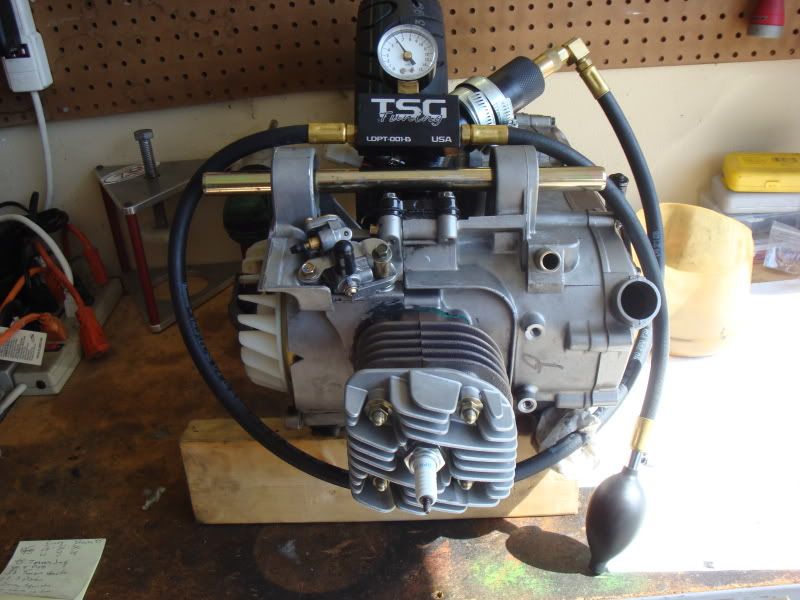
Pressurize the engine to 6 pounds and wait 6 minutes. If you loose no pressure your good to go. If you do you need to re-pressurize and use soapy water to find your leak. Repair leak and retest as needed.
We are good to go.
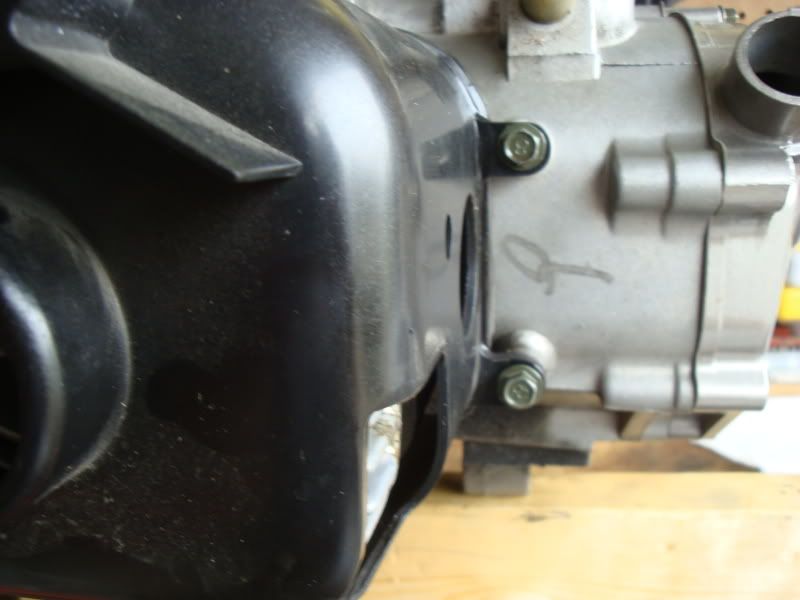
Install sparkplug, shrouding and re-install your engine by following the above removal steps backwards. If your already running a 95 main jet with your stage 1 kit go ahead and keep running it and do a plug chop, if its lean you can tune from there. Also when you get everything put back together heat cycle your motor a couple times before you ride it to get everything working together and temper the rings. Heat cycle means starting the motor bringing it to operating temp and then shut off letting it cool completely. Then to break it in vary the rpms avoiding wide open throttle for a few hundred miles.
At this point you have installed up to Scooterworks stage 2 kit and your top speed should easily be in the 50's. We took things a bit further and will update soon.
 on the back of my buddy but then i was all << nm